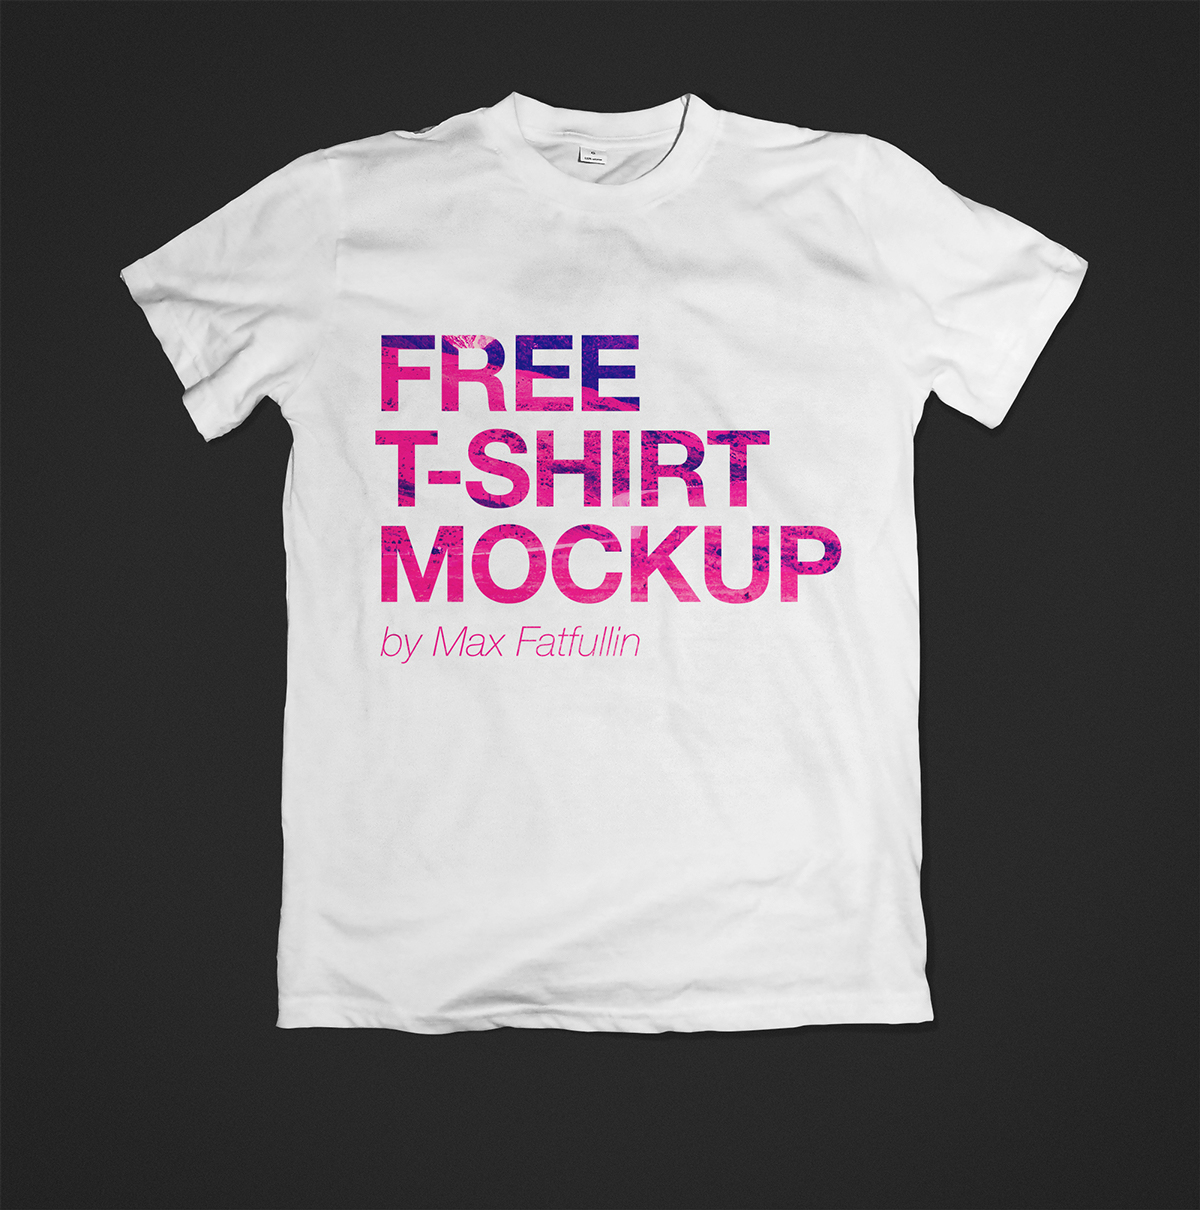
T-Shirt Design Mockup Photoshop: A Comprehensive Guide
Introduction
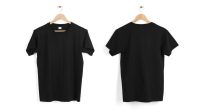
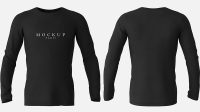
In today’s fast-paced fashion industry, creating eye-catching and realistic apparel designs is essential for brands and designers alike. T-shirt design mockups in Photoshop have emerged as a powerful tool, allowing designers to showcase their creations in realistic settings without the need for costly photography shoots. This guide will delve into the world of T-shirt design mockups in Photoshop, providing a comprehensive overview of the process, techniques, and best practices.
Benefits of Using T-Shirt Design Mockups
- Realistic Presentation: Mockups allow designers to present their designs in a realistic and professional manner, giving clients a clear visualization of the final product on an actual garment.
- Cost-Effective: Compared to traditional photography, mockups offer a cost-efficient way to create high-quality visuals for marketing and presentation purposes.
- Time-Saving: By eliminating the need for physical samples and photography sessions, mockups significantly reduce the time required to produce design proofs and visuals.
- Design Exploration: Mockups provide a platform for designers to experiment with different design concepts and color combinations, enabling them to explore multiple options before settling on a final design.
- Easy Customization: Mockups can be easily customized to suit specific design needs, allowing designers to change garment colors, add branding, and incorporate backgrounds to match their desired aesthetic.
Choosing the Right T-Shirt Mockup Template
The choice of T-shirt mockup template lays the foundation for a successful design presentation. Here are some factors to consider when selecting a template:
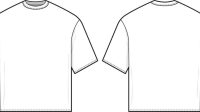
- Garment Type: Choose a template that closely resembles the actual T-shirt style you intend to use, considering factors such as neckline, sleeves, and fit.
- Perspective: Decide on the desired perspective of the mockup, whether it’s a front view, side view, or a combination of both.
- Resolution: Opt for high-resolution mockups to ensure clarity and sharpness in your designs.
- Background: Consider the background of the mockup and how it will complement your design. Neutral backgrounds provide flexibility, while branded or themed backgrounds can enhance the overall presentation.
Importing and Preparing Your Design
Once you have chosen your mockup template, you need to import your design into Photoshop. Follow these steps for seamless integration:
- Open the Mockup Template: Open the chosen T-shirt mockup template in Photoshop.
- Create a New Layer: Create a new layer in the Layers panel for your design.
- Import Your Design: Drag and drop your design file (e.g., PNG or PSD) onto the new layer.
- Scale and Position Your Design: Use the Transform tool (Ctrl/Cmd + T) to scale and position your design on the T-shirt.
- Adjust Layer Blending: If needed, adjust the blending mode of your design layer (e.g., Multiply, Overlay) to achieve the desired look.
Customizing the Mockup
With your design in place, you can customize the mockup to enhance its realism and match your brand’s aesthetic:
- Change Garment Color: Many mockups allow you to change the color of the T-shirt. Experiment with different colors to find the one that best complements your design.
- Add Branding: Add your brand’s logo or other branding elements to the mockup using the Text tool or by importing a separate image layer.
- Customize Background: If desired, replace the existing background with a custom image or color to create a specific scene or atmosphere.
- Apply Effects: Use Photoshop’s built-in effects (e.g., Drop Shadow, Bevel and Emboss) to add depth and realism to your design.
Exporting the Final Mockup
Once you have finalized your mockup, it’s time to export it in a high-quality format for presentation. Follow these steps for optimal output:
- Choose Export Format: Select "Export As" from the File menu. Choose a file format that supports transparency (e.g., PNG, PSD).
- Set Resolution: Set the resolution to at least 300 dpi for high-quality printing.
- Export and Save: Click "Export" and save the mockup file in a desired location.
Tips for Creating Effective T-Shirt Design Mockups
- Use high-resolution images for both the design and the mockup template.
- Pay attention to lighting and shadows to create a realistic effect.
- Experiment with different angles and perspectives to showcase your design effectively.
- Consider the target audience and the context in which the mockup will be used.
- Get feedback from others to refine and improve your mockups.
FAQ
Q: What are the benefits of using Smart Objects in T-shirt design mockups?
A: Smart Objects allow you to edit your design without affecting the original file. This is particularly useful when experimenting with different colors and effects.
Q: How can I create a realistic wrinkle effect on the T-shirt in my mockup?
A: Use the "Filter > Distort > Wave" filter to create a subtle wrinkle effect. Adjust the settings to control the intensity and direction of the wrinkles.
Q: Can I use T-shirt design mockups for commercial purposes?
A: Most mockup templates are available for commercial use. However, be sure to check the license agreement of the specific template you are using.
Q: What are some common mistakes to avoid when creating T-shirt design mockups?
A: Common mistakes include using low-resolution images, placing the design too high on the T-shirt, and neglecting the background.
Q: Is it possible to create custom T-shirt mockups from scratch?
A: Yes, with advanced Photoshop skills, you can create your own T-shirt mockups. This involves creating a 3D model of the T-shirt and applying your design to its surface.

