Creating Professional Blank T-Shirt Templates in Adobe Photoshop
Introduction
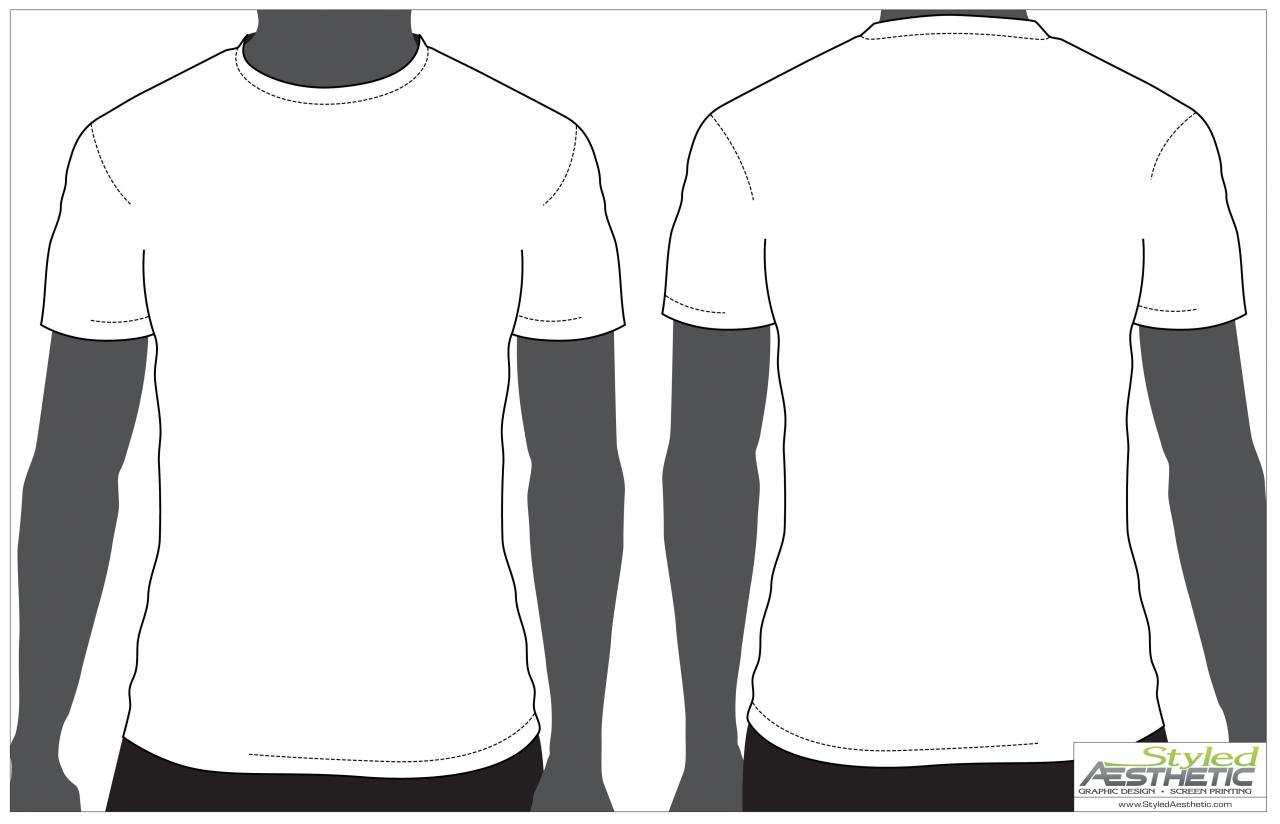
Blank t-shirt templates are an essential tool for designers, allowing them to showcase their designs and create realistic mockups. With the advent of digital design, Photoshop has become the industry standard for creating these templates. This comprehensive guide will provide you with step-by-step instructions on creating professional blank t-shirt templates in Photoshop, enabling you to effectively present your designs to clients or for online display.
Understanding the Importance of Blank T-Shirt Templates
Blank t-shirt templates serve several crucial purposes in the design process:
-
Visualization: They allow designers to accurately visualize how their designs will appear on a physical garment, considering factors such as fabric texture, drape, and fit.
-
Presentation: Templates provide a polished and professional way to present design concepts to clients or potential customers, effectively communicating the intended look and feel of the finished product.
-
Marketing: Blank templates can be integrated into marketing materials, such as catalogs and brochures, to showcase the versatility and appeal of your designs.
-
E-commerce: Templates are indispensable for online stores, enabling customers to envision how the products will look when worn.
Prerequisites
Before embarking on the template creation process, ensure that you have:
- Adobe Photoshop software installed on your computer.
- A basic understanding of Photoshop’s user interface and functionality.
- Blank t-shirt images or access to high-quality stock images.
Step-by-Step Guide to Creating Blank T-Shirt Templates
1. Gather Reference Images
Begin by collecting high-resolution images of blank t-shirts that align with your desired style and fit. These images should be clean, well-lit, and captured from various angles to provide a comprehensive view.
2. Open and Prepare the Image
In Photoshop, open the blank t-shirt image. Create a new layer by clicking on the "New Layer" icon in the Layers panel. This layer will serve as the base for your template.
3. Refine the Neckline and Sleeves
Using the Pen Tool or Magnetic Lasso Tool, carefully outline the neckline and sleeves of the t-shirt. Once selected, refine the edges to create a smooth and precise outline.
4. Add Shadows and Highlights
To enhance the realism of your template, add shadows and highlights to the t-shirt. Use the Gradient Tool to create subtle shading and highlights on the neckline, sleeves, and folds of the fabric.
5. Create a Flattened Layer
Merge all the layers into a single flattened layer. This will provide a solid foundation for further editing.
6. Define the Shirt Color
Using the Paint Bucket Tool, fill the shirt area with a white or desired base color. Adjust the opacity and blend modes as needed to achieve the desired shade and transparency.
7. Apply Smart Objects for Designs
To create a versatile template that can accommodate various designs, convert the shirt layer into a Smart Object. This will allow you to easily replace the design layer while preserving the template’s original shape and dimensions.
8. Save the Template
Once satisfied with your template, save it in a suitable format, such as PSD or PNG, to preserve the layered structure and Smart Object functionality.
9. Create Variations
To cater to different design requirements, consider creating variations of your template by adjusting the shirt color, neckline style, or fit. This will provide designers with a wider range of options to choose from.
Optimizing Blank T-Shirt Templates
-
Resolution: Use high-resolution images to ensure the accuracy and clarity of your templates.
-
Color Profile: Maintain a consistent color profile throughout the entire design process to avoid color discrepancies when displaying the templates.
-
Layer Organization: Keep your layers organized and clearly labeled to facilitate future editing or modifications.
-
File Format: Save your templates in a format that is compatible with your design software and allows for future iterations.
-
Metadata: Embed metadata into your templates to provide designers with information about the template’s creator, usage rights, and other relevant details.
FAQ
Q1. What is the recommended resolution for blank t-shirt templates?
A1. Aim for a resolution of at least 300 pixels per inch (PPI) to ensure the sharpness and clarity of your templates.
Q2. Can I use my own photographs of blank t-shirts to create templates?
A2. Yes, you can use your own photographs provided that they are high-resolution and captured under controlled lighting conditions to minimize shadows and distortions.
Q3. Is it possible to create templates for different t-shirt styles, such as V-necks or polo shirts?
A3. Absolutely. The principles of creating blank t-shirt templates apply to various t-shirt styles. Simply adjust the shape, neckline, and details to match the desired style.
Q4. Can I share my blank t-shirt templates with others?
A4. The sharing of templates depends on the usage rights and copyright associated with the original images used in the template. It’s important to obtain proper permissions if you intend to distribute or sell your templates.
Q5. How can I ensure that my templates are visually appealing and professional?
A5. Pay attention to the details, such as smooth outlines, realistic shading, and consistent color schemes. Consider using high-quality reference images and invest time in fine-tuning the appearance of your templates.
Conclusion
Creating blank t-shirt templates in Photoshop is a valuable skill for designers, enabling them to effectively showcase their designs and enhance their presentation materials. By following the comprehensive steps outlined in this guide and adhering to the optimization tips, you can create professional-grade templates that will elevate your design workflow and impress clients and customers alike.


