
Building Sign Mockup: A Comprehensive Guide to Creating Realistic Building Signage
Introduction
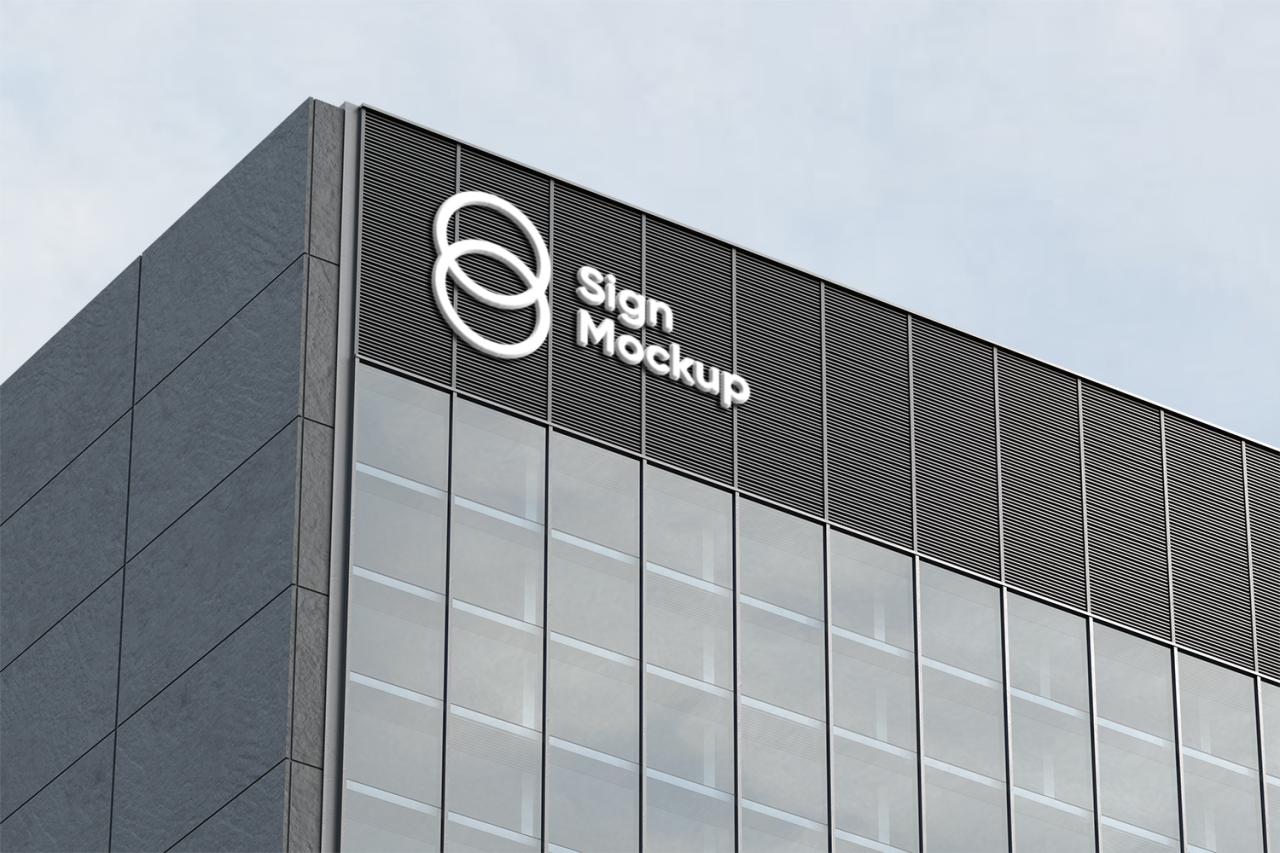
Building signage plays a crucial role in establishing a brand’s identity, conveying important information, and guiding visitors. Creating realistic building sign mockups is essential for visualizing the final design and ensuring that it aligns with the architectural style and overall aesthetic of the building. This comprehensive guide will provide you with a step-by-step process for building sign mockups that accurately represent your designs and convey the desired impact.
Understanding Building Sign Mockups
A building sign mockup is a digital or physical representation of a sign placed on a building facade. It allows designers, architects, and clients to preview the sign’s appearance in real-world conditions before it is fabricated and installed. Mockups can be created using various software programs, including Adobe Photoshop, Illustrator, and 3D modeling tools like SketchUp and Rhino.
Benefits of Building Sign Mockups
- Visualization: Mockups provide a realistic preview of the sign’s design, scale, and placement on the building facade.
- Feedback and Approval: They facilitate feedback from stakeholders and allow for design adjustments before production, reducing the risk of costly errors.
- Site Planning: Mockups help determine the optimal location and orientation of the sign to maximize visibility and impact.
- Architectural Compatibility: They ensure that the sign complements the building’s architecture and does not disrupt its overall aesthetic.
- Code Compliance: Mockups can assist in verifying compliance with building codes and zoning regulations.
Step-by-Step Building Sign Mockup Creation
1. Gather Reference Materials:
Collect high-resolution images of the building facade, including multiple angles and close-ups. Gather architectural blueprints and specifications to ensure accuracy in scale and proportions.
2. Choose a Mockup Template:
Select a mockup template that aligns with the building’s architectural style, such as modern, contemporary, or Victorian. Alternatively, you can create a custom template in Photoshop or Illustrator.
3. Import Reference Images:
Import the reference images into your mockup template and align them to match the building’s perspective. Adjust the scale and proportions as necessary to ensure a realistic representation.
4. Create the Sign Design:
Design the sign using Adobe Photoshop or Illustrator. Consider factors such as shape, size, materials, and text. Use high-resolution images and graphics to enhance the realism of the design.
5. Place the Sign on the Mockup:
Import the sign design into the mockup and position it on the building facade. Use the perspective controls to match the angle and depth of the building. Adjust the lighting and shadows to create a natural-looking effect.
6. Refine Details and Adjustments:
Zoom in on the mockup to ensure that all details are accurate, including fonts, colors, and textures. Make any necessary adjustments to enhance the realism and impact of the design.
7. Export and Finalize:
Export the mockup in high resolution to present to stakeholders or for further use in presentations or marketing materials. Finalize the design by incorporating any feedback or revisions.
Advanced Techniques
1. 3D Modeling:
For greater realism, create a 3D model of the building and sign using SketchUp or Rhino. This allows for accurate perspective and lighting adjustments, and the mockup can be rendered in photorealistic quality.
2. Realistic Materials and Textures:
Apply realistic materials and textures to the sign and building facade using Photoshop’s 3D material editor or dedicated materials libraries. This enhances the depth and authenticity of the mockup.
3. Environmental Effects:
Incorporate environmental effects such as shadows, reflections, and ambient lighting to make the mockup more immersive and realistic. This helps visualize how the sign will appear in different lighting conditions.
Frequently Asked Questions (FAQs)
1. What software should I use to create building sign mockups?
Adobe Photoshop, Illustrator, SketchUp, and Rhino are popular choices for creating building sign mockups.
2. How do I choose the right mockup template?
Consider the architectural style of the building and the desired impact of the sign. Select a template that aligns with these elements.
3. How do I make the mockup look realistic?
Pay attention to details, use high-resolution images, and apply realistic materials and lighting effects.
4. Can I use building sign mockups to comply with building codes?
Mockups can assist in verifying compliance, but always consult with local building authorities for official approvals.
5. What are the benefits of using advanced techniques?
Advanced techniques provide greater realism, accuracy, and flexibility in creating building sign mockups.
Conclusion
Building sign mockups are essential tools for visualizing, planning, and approving building signage designs. By following the steps outlined in this guide and incorporating advanced techniques, you can create realistic and impactful mockups that accurately represent your designs and enhance communication with stakeholders. Whether you use digital or physical mockups, they provide valuable insights


