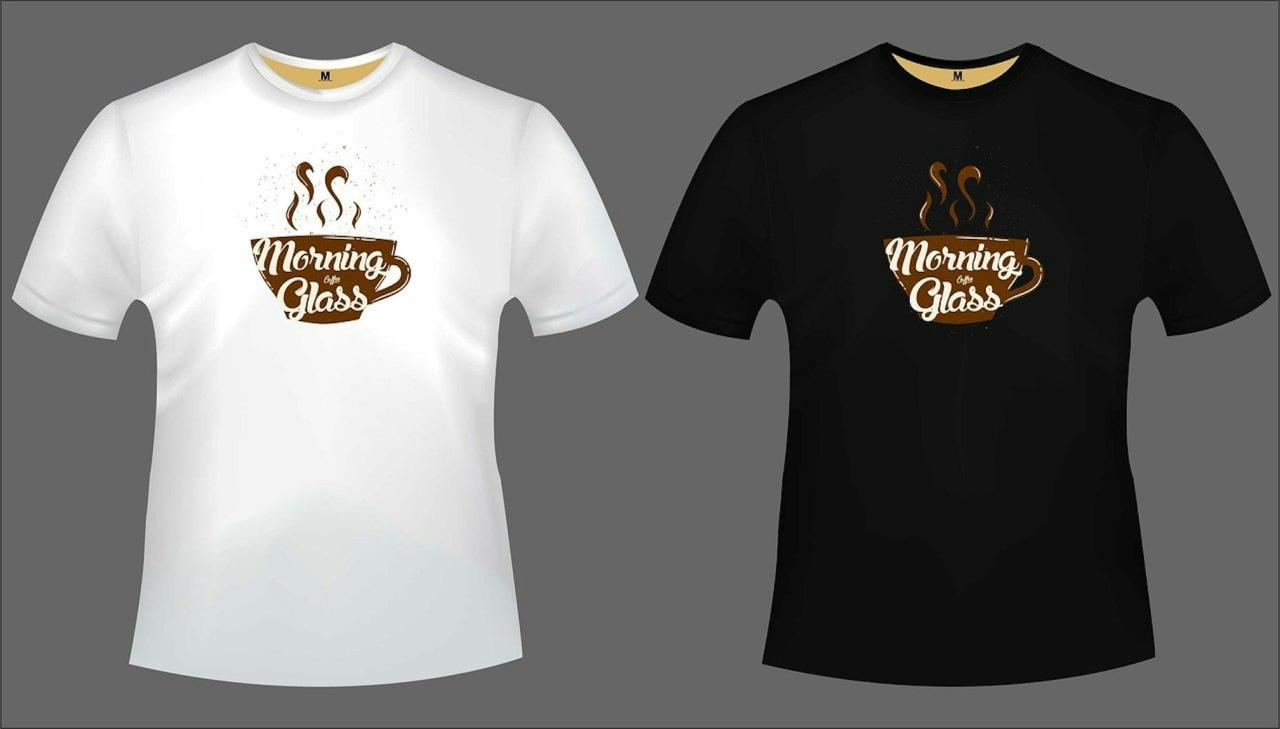
A Comprehensive Guide to Creating Stunning T-shirt Mockups
In the realm of design, mockups play a pivotal role in visualizing and showcasing concepts before they come to life. T-shirt mockups, in particular, have become indispensable tools for designers, online sellers, and marketing professionals alike. They offer a realistic representation of how a design would appear on an actual garment, empowering creators to make informed decisions and present their designs in a visually appealing manner.
This comprehensive guide will delve into the intricacies of creating professional-quality t-shirt mockups, covering everything from choosing the right software to mastering advanced techniques. Whether you’re a seasoned designer or a novice just starting out, this guide will equip you with the knowledge and skills to elevate your design process and showcase your creations with confidence.
Chapter 1: Selecting the Ideal Software for T-shirt Mockups
The choice of software for creating t-shirt mockups is a crucial one, as it will significantly impact the quality and efficiency of your workflow. Here’s a comparative analysis of the leading options in the market:
Adobe Photoshop: Renowned for its extensive features and industry-standard status, Photoshop is a versatile choice for both beginners and professionals. Its vast array of tools, including layers, masks, and adjustment options, provides unparalleled control over the design process. However, Photoshop’s complexity can be daunting for newcomers, and it comes with a hefty price tag.
GIMP: As a free and open-source alternative to Photoshop, GIMP offers a comparable suite of features, making it an excellent choice for those on a budget. Its user interface is less polished than Photoshop’s, but it boasts a dedicated community of users who provide support and resources.
Inkscape: This vector graphics editor is specifically designed for creating scalable designs, making it ideal for creating mockups intended for web or print. Inkscape’s intuitive interface and extensive library of vector shapes simplify the creation of realistic t-shirt mockups.
Mockup Generators: Online mockup generators offer a quick and easy solution for creating t-shirt mockups. They typically provide pre-made templates and a limited range of customization options. While convenient, they may lack the flexibility and control offered by dedicated software.
Chapter 2: Gathering High-Quality Mockup Resources
Once you’ve selected your software, it’s time to gather the necessary resources to create realistic and visually appealing mockups. These include:
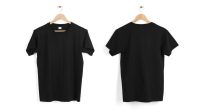
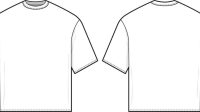
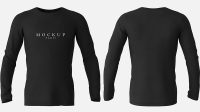
T-shirt Templates: High-quality t-shirt templates provide the foundation for your mockups. Look for templates that offer a variety of styles, colors, and garment types to accommodate different design concepts.
Backgrounds: The background of your mockup can significantly impact the overall aesthetics. Choose backgrounds that complement your design and enhance its visibility.
Accessories: Accessories such as hats, jewelry, or props can add depth and realism to your mockups. Use accessories sparingly to avoid cluttering the design.
Chapter 3: Mastering the Art of T-shirt Mockup Creation
With your software and resources in place, it’s time to delve into the actual process of creating a t-shirt mockup. Follow these step-by-step instructions to achieve professional-quality results:
1. Import the T-shirt Template: Begin by importing the t-shirt template into your chosen software. Ensure that the template is sized appropriately and positioned correctly on the canvas.
2. Add Your Design: Place your design onto the t-shirt template using the appropriate tools in your software. Adjust the size, position, and opacity of the design as needed.
3. Create Shadows and Highlights: To enhance the realism of your mockup, add shadows and highlights to the design. This can be achieved using layer styles or by creating separate layers for the shadows and highlights.
4. Fine-tune the Colors: Adjust the colors of the t-shirt, background, and design to create a cohesive and visually appealing aesthetic. Use the color picker tool and experiment with different color combinations to find the perfect match.
5. Add Accessories (Optional): If desired, incorporate accessories into your mockup to enhance its realism and storytelling. Position the accessories carefully and adjust their opacity to blend seamlessly with the design.
Chapter 4: Advanced Techniques for Elevating Your Mockups
Once you’ve mastered the basics of t-shirt mockups, explore advanced techniques to push your creations to the next level:
1. Using Smart Objects: Smart objects allow you to edit your design non-destructively, preserving the original artwork. This is especially useful when making multiple variations of the same mockup.
2. Creating Realistic Folds and Wrinkles: Add depth and texture to your mockups by creating realistic folds and wrinkles in the fabric. Use tools such as the liquify filter or displacement maps to achieve natural-looking results.
3. Incorporating Textures: Enhance the realism of your mockups by adding textures to the t-shirt fabric, background, or accessories. Experiment with different textures to create unique and visually appealing effects.
4. Mastering Lighting: Lighting plays a crucial role in creating professional-looking mockups. Adjust the lighting angle, intensity, and color to highlight your design and create a dramatic effect.
Chapter 5: Troubleshooting Common Issues
In the process of creating t-shirt mockups, you may encounter some common issues. Here are a few tips for troubleshooting:
1. Pixelated Designs: Ensure that your design is high-resolution to avoid pixelation when resizing or zooming.
2. Misaligned Elements: Double-check that all elements of your mockup, including the t-shirt, design, and accessories, are properly aligned and positioned.
3. Unrealistic Shadows: Shadows should be subtle and natural-looking. Adjust the opacity and blur of your shadows to avoid creating unrealistic or distracting effects.
4. Color Inconsistencies: Ensure that the colors of your design, t-shirt, and background are consistent and harmonious throughout the mockup.
Chapter 6: Tips for Creating Stunning Mockups
Elevate your t-shirt mockups to new heights with these additional tips:
1. Choose High-Quality Images: Utilize high-resolution images for both your design and background to ensure clarity and sharp details.
2. Pay Attention to Detail: Meticulously refine every aspect of your mockup, from the folds in the fabric to the lighting and textures.
3. Experiment with Different Angles: Create dynamic and engaging mockups by experimenting with different camera angles and perspectives.
4. Use Realistic Proportions: Ensure that the t-shirt fits the model or hanger naturally and that the accessories are appropriately sized.
FAQ
1. What is the best software for creating t-shirt mockups?
The best software for creating t-shirt mockups depends on your individual needs and preferences. Adobe Photoshop is a comprehensive choice for professional designers, while GIMP offers a free and feature-rich alternative. Inkscape is ideal for creating vector-based mockups for web or print.
2. Where can I find high-quality t-shirt templates?
Numerous websites and marketplaces offer high-quality t-shirt templates. Some popular options include Envato Elements, Creative Market, and Placeit.
3. How can I create realistic shadows and highlights?
To create realistic shadows and highlights, use layer styles or create separate layers for each effect. Adjust the opacity, blur, and angle of the shadows and highlights to achieve a natural look.
4. How can I add textures to my mockups?
Incorporate textures into your mockups by overlaying texture images onto the t-shirt fabric, background, or accessories. Adjust the opacity and blending mode of the textures to achieve a seamless and realistic effect.
5. How can I troubleshoot pixelated designs?
To avoid pixelated designs, ensure that your original artwork is high-resolution. When resizing or zooming, use the "nearest neighbor" interpolation method to preserve the sharp edges of your design.

