
How to Create Realistic T-Shirt Mockups in Photoshop: A Comprehensive Guide
In the fierce world of e-commerce, showcasing your products visually appealingly is paramount to attracting customers and driving sales. For apparel businesses, creating realistic T-shirt mockups is essential for presenting your designs and enticing potential buyers. With the help of Adobe Photoshop, a powerful image editing software, you can create professional-looking mockups that accurately represent your products.
This comprehensive guide will take you through a step-by-step process on how to create realistic T-shirt mockups in Photoshop. We’ll cover everything from choosing the right template to adding your design and adjusting the lighting and shadows. Whether you’re a seasoned Photoshop user or just starting out, this guide will provide you with all the knowledge and techniques you need to create stunning T-shirt mockups.
Step 1: Gather Your Materials
Before you dive into Photoshop, you’ll need to gather the necessary materials:
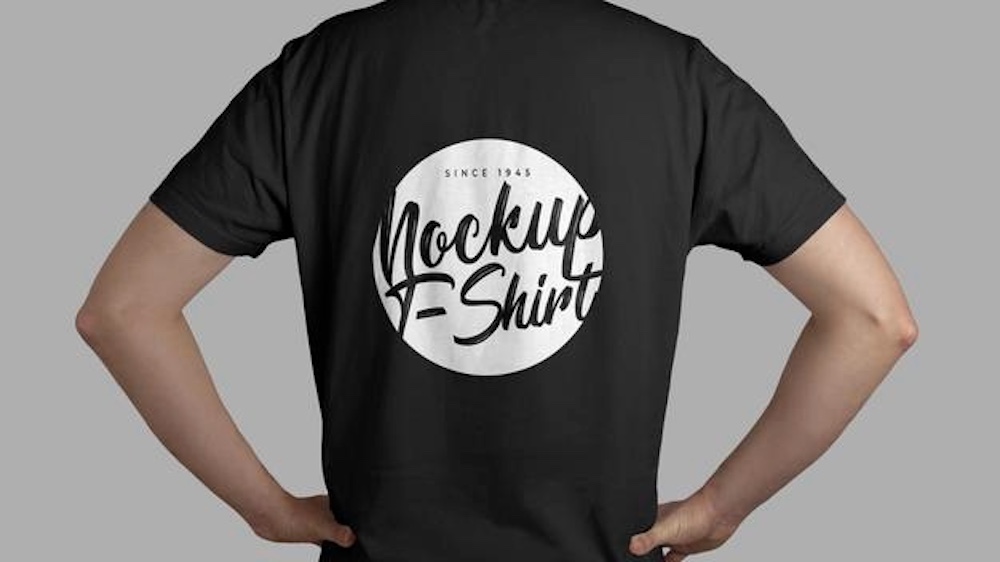
- High-resolution T-shirt template: Look for templates that offer different views (front, back, side) and that match the style of the T-shirt you’re featuring.
- Your T-shirt design: Prepare your design in a PNG or PSD format with a transparent background.
- Photo editing software: Adobe Photoshop is the industry standard for creating realistic mockups.
Step 2: Import Template into Photoshop
- Open Adobe Photoshop on your computer.
- Click on the "File" menu and select "Open."
- In the file explorer window, navigate to the T-shirt template you downloaded and click "Open."
Step 3: Add Your T-shirt Design
- Click on the "File" menu and select "Place Embedded."
- In the file explorer window, navigate to your T-shirt design file and click "Place."
- The design will appear on a new layer in your Photoshop document.
- Use the "Transform" tool (Ctrl/Cmd + T) to scale, rotate, and position your design as desired.
Step 4: Adjust Lighting and Shadows
To make your T-shirt mockup look more realistic, it’s crucial to adjust the lighting and shadows to match the environment you envision for the product.
- Click on the "Layer" menu and select "New Adjustment Layer" > "Levels."
- In the Levels adjustment panel, adjust the sliders to enhance the contrast and brightness of the design.
- Click on the "Add Layer Mask" icon at the bottom of the Layers panel.
- Use a soft black brush to paint over the areas where you want to reduce the brightness, such as the wrinkles or folds in the T-shirt.
Step 5: Add Background and Shadows
Adding a background and shadows can help ground your T-shirt mockup and make it look more realistic.
Adding a Background:
- Create a new layer beneath the T-shirt design layer.
- Fill the new layer with a solid color or add a background image using the "File" > "Place Embedded" option.
Adding Shadows:
- Click on the T-shirt design layer and go to "Layer" > "Layer Style" > "Drop Shadow."
- Adjust the settings to create a realistic shadow effect that mimics the lighting in your scene.
- Repeat these steps for the background layer to add shadows beneath the T-shirt.
Step 6: Export the Mockup
Once you’re satisfied with the appearance of your T-shirt mockup, it’s time to export it:
- Click on the "File" menu and select "Save As."
- In the "Format" dropdown, select "JPEG" or "PNG."
- Choose a resolution and quality setting that meets your needs.
- Click "Save" to export the T-shirt mockup to your computer.
Tips for Creating Realistic T-Shirt Mockups
- Use high-quality templates: The quality of your template will significantly impact the realism of your mockup. Look for templates that are well-lit, have realistic textures, and offer multiple angles.
- Consider the lighting: The lighting in your mockup should match the environment you’re envisioning for the product. Use natural light or artificial light sources to create realistic shadows and highlights.
- Add depth and texture: Don’t be afraid to add wrinkles, folds, and other details to your T-shirt mockup to create a sense of depth and texture.
- Experiment with different angles: Showcase your T-shirt design from multiple angles to give customers a comprehensive view of the product.
- Keep the background simple: The background should not distract from the T-shirt design. Choose a solid color or a subtle pattern that complements the product.
FAQ
Q: What is the best resolution for T-shirt mockups?
A: Aim for a resolution of at least 300 dpi (dots per inch) for high-quality print-ready mockups.
Q: Can I use free T-shirt templates?
A: Yes, there are many websites that offer free T-shirt templates. However, the quality may vary, so it’s worth investing in premium templates for professional-looking results.
Q: Can I create T-shirt mockups without Photoshop?
A: There are online mockup generators that allow you to create mockups without using Photoshop. However, they may offer limited customization options compared to using a dedicated image editing software.
Q: How can I make my T-shirt mockups stand out?
A: Experiment with different lighting setups, add unique backgrounds, and use high-quality designs to create eye-catching and memorable mockups.
Q: Can I sell T-shirt mockups I create?
A: Yes, you can sell T-shirt mockups you create, as long as you have the necessary licenses and permissions for the template and design elements you use.


