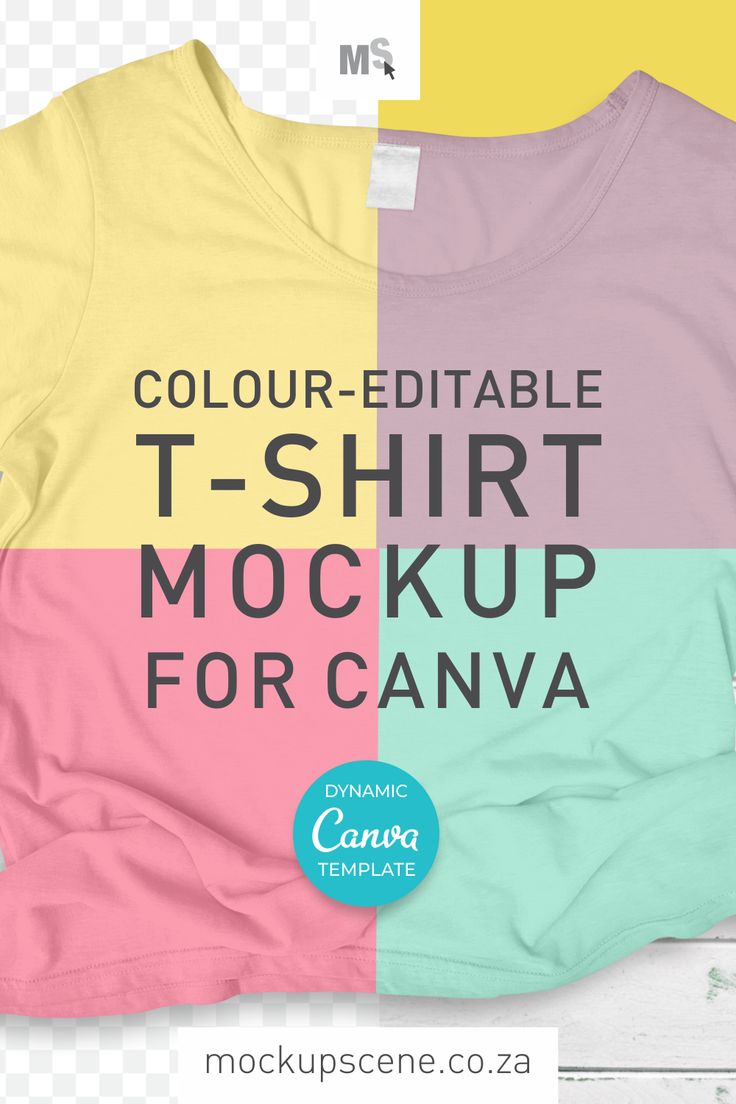
A Comprehensive Guide to Creating Shirt Mockups with Canva
Introduction
In the realm of digital marketing and visual communication, mockups play a pivotal role in showcasing products and designs in a realistic and compelling manner. Among the various types of mockups, shirt mockups hold particular significance for apparel businesses and designers alike. Canva, an intuitive online graphic design platform, offers a user-friendly solution for creating professional-grade shirt mockups without the need for extensive graphic design skills.
This comprehensive guide will delve into the intricacies of creating shirt mockups on Canva, empowering you with the knowledge and techniques to elevate your product presentations. From understanding the fundamental concepts to mastering advanced customization options, we will explore every aspect of shirt mockup creation to unlock your potential as a designer.
Understanding the Canva Interface
Before embarking on our mockup journey, it’s essential to familiarize ourselves with the Canva interface. The intuitive design of the platform makes it accessible to users of all levels, featuring a user-friendly workspace and a vast library of design elements.
Creating a New Canva Design
To kickstart your shirt mockup adventure, begin by creating a new design. Select the "Create a design" option from the homepage and choose the appropriate template size for your mockup. The "Custom size" option allows you to specify your own dimensions, ensuring a precise fit for your design.
Importing Your Shirt Design
With a blank canvas at your disposal, it’s time to import the design you wish to showcase on your shirt mockup. You can either upload your design from your computer or select from Canva’s extensive library of templates and graphics. Once imported, drag and drop your design onto the canvas and position it as desired.
Choosing a Shirt Style Template
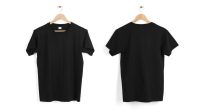
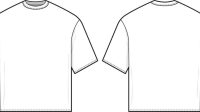
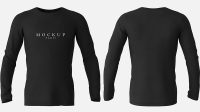
Canva provides a wide array of shirt style templates, catering to various apparel types and styles. Explore the different options and select the template that best complements your design and target audience. From classic crew necks to stylish V-necks, and from casual tees to formal dress shirts, you’ll find a template to suit every need.
Customizing the Shirt Mockup
Once you have selected your shirt style template, it’s time to customize the mockup to perfection. The intuitive customization options in Canva empower you to tailor every aspect of your design, ensuring a realistic and visually appealing presentation.
-
Shirt Color: Opt for a shirt color that complements your design and aligns with your brand identity. Canva offers a wide spectrum of colors to choose from, including solids, gradients, and patterns.
-
Background: Choose a background color or image that enhances the overall aesthetic of your mockup. Experiment with different backgrounds to create a cohesive and visually striking design.
-
Design Placement: Adjust the placement of your design on the shirt to achieve the optimal visual impact. Experiment with different alignments and positions to find the most suitable arrangement.
-
Design Size: Resize your design to ensure it fits the shirt template proportionately. Use the handles on the edges of your design to scale it up or down as needed.
Adding Additional Elements
To enhance the realism and appeal of your shirt mockup, consider adding additional design elements. Canva’s extensive library of graphics and illustrations empowers you to incorporate logos, patterns, textures, and more. Layer these elements tastefully to create a visually captivating design that resonates with your audience.
Saving and Downloading Your Mockup
Once you’re satisfied with your shirt mockup, it’s time to save and download your creation. Canva offers various file formats to cater to your specific needs. Select the desired format, such as PNG, JPG, or PDF, and download the file to your computer for further use.
Advanced Customization Techniques
Beyond the basic customization options, Canva offers advanced techniques to refine your shirt mockups and achieve professional-grade results.
-
Transparency: Adjust the transparency of your design or any additional elements to create layering effects and achieve a realistic blend with the shirt.
-
Shadows and Highlights: Add shadows and highlights to your design to simulate depth and dimension, making it appear as if it’s actually printed on the shirt.
-
Mockup Templates: Explore Canva’s collection of pre-designed mockup templates to expedite your workflow. These templates are meticulously crafted to showcase your designs in a variety of realistic settings, saving you time and effort.
Best Practices for Shirt Mockups
To maximize the impact of your shirt mockups, follow these best practices:
-
Use High-Quality Images: Ensure that your shirt design and any additional elements are in high resolution to maintain clarity and detail in your mockup.
-
Pay Attention to Lighting: Experiment with different lighting angles and intensities to create a realistic and visually engaging mockup.
-
Consider the Target Audience: Tailor your mockup to resonate with your target audience. Choose a shirt style and background that aligns with their preferences and demographics.
Conclusion
Creating shirt mockups with Canva empowers you to showcase your designs professionally and effectively. By following the comprehensive guide outlined in this article, you’ll gain the knowledge and skills to produce visually stunning and impactful mockups that elevate your presentations and engage your audience. Remember to explore the vast array of templates, customization options, and advanced techniques that Canva offers to unlock your full creative potential. With practice and experimentation, you’ll master the art of shirt mockup creation and achieve remarkable results.
Frequently Asked Questions
Q1: Can I upload my own shirt template into Canva?
A1: Yes, you can upload your own shirt template into Canva by selecting the "Uploads" tab and choosing the desired file from your computer.
Q2: Can I export my shirt mockup in transparent PNG format?
A2: Yes, Canva allows you to export your shirt mockup in transparent PNG format, which preserves the transparency of the background, making it suitable for various uses.
Q3: How do I add wrinkles or folds to my shirt mockup?
A3: Canva does not offer a direct option to add wrinkles or folds to a shirt mockup. However, you can achieve a similar effect by using a texture overlay or experimenting with the "Distort" tool to create subtle creases and folds in your design.
Q4: Can I collaborate with others on a shirt mockup design?
A4: Yes, Canva supports collaboration, allowing you to invite others to edit and contribute to your shirt mockup design. Simply share the design link with your collaborators and assign them editing permissions.
Q5: Are there any limitations to the size of the shirt mockup I can create?
A5: Canva offers a maximum canvas size of 2550 x 3300 pixels, which should suffice for most shirt mockup purposes. However, if you require a larger size, you may need to use an alternative design software or export your mockup at a higher resolution and scale it up yourself.

