
Master the Art of Shirt Folding and Tucking: A Comprehensive Guide to Achieving a Pristine and Professional Appearance
Maintaining a polished and professional appearance often requires attention to detail, extending beyond the choice of attire to the way it is presented. Perfectly folded and tucked shirts are quintessential elements of a crisp and sophisticated look, whether in a formal or casual setting. This comprehensive guide will provide you with step-by-step instructions and valuable tips to master the art of folding and tucking a shirt like a seasoned professional.
Understanding the Anatomy of a Shirt
Before embarking on the folding and tucking process, it’s essential to familiarize yourself with the different parts of a shirt and their significance:
- Collar: The frame around the neckline, providing support and shaping.
- Cuffs: Folded edges at the wrist, serving both functional and aesthetic purposes.
- Placket: The strip of fabric covering the buttonholes on the front of the shirt.
- Yoke: The upper section of the back of the shirt, connecting the collar to the body.
- Tail: The bottom hem of the shirt, usually longer in the back than the front to accommodate tucking.
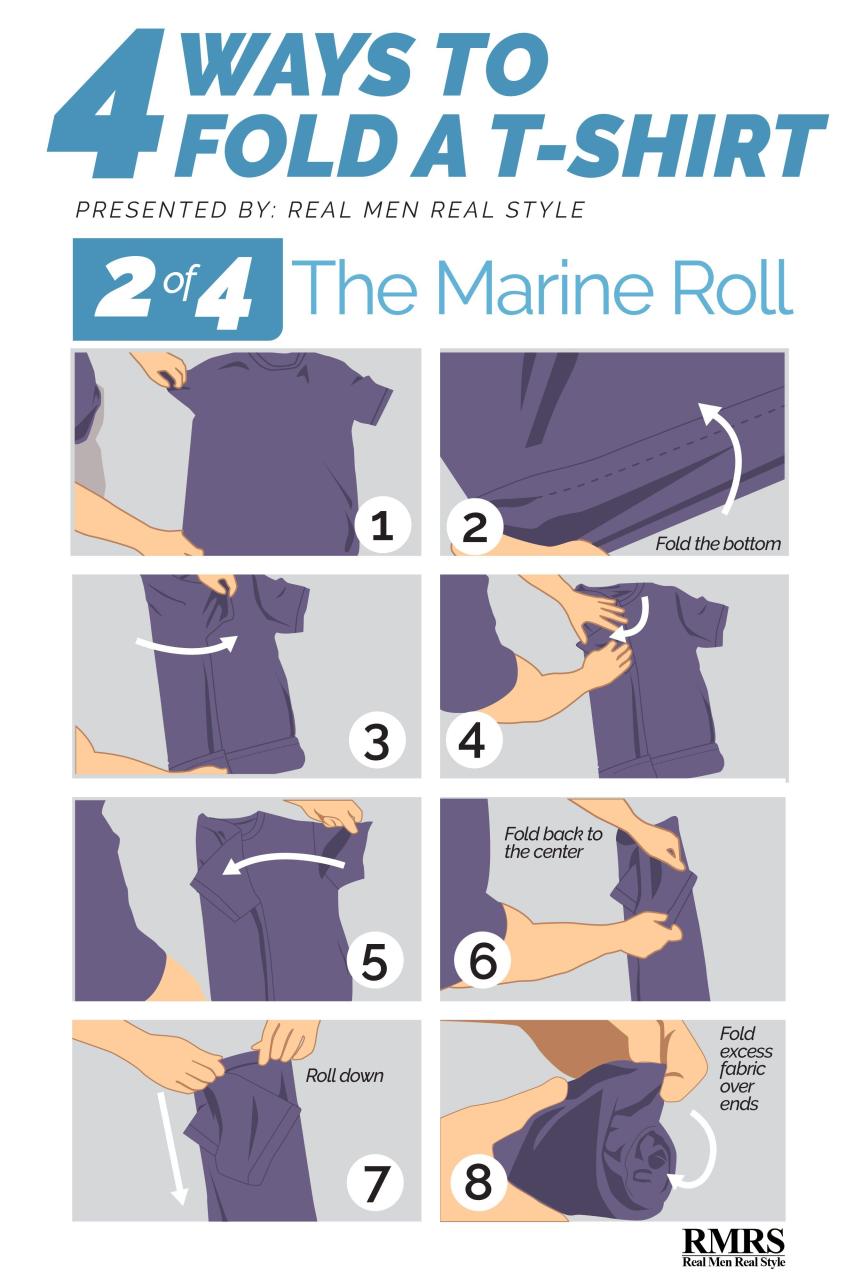
Step-by-Step Guide to Folding a Shirt
With a clear understanding of the shirt’s anatomy, let’s delve into the step-by-step process of folding a shirt meticulously:
1. Preparation: Begin by buttoning the shirt all the way up, including the collar button. This will help maintain its shape during folding.
2. Laying Flat: Spread the shirt flat on a clean and wrinkle-free surface, aligning the shoulders and sleeves neatly.
3. Folding in the Sleeves: Bring one sleeve across the shirt, aligning the cuff with the center line of the body. Repeat with the other sleeve, overlapping the first sleeve slightly.
4. Folding in Half: Grasp the shirt from the bottom hem and fold it up halfway, bringing the folded sleeves towards the collar.
5. Aligning the Collar: Fold the collar down over the shirt, ensuring that the points align with the center of the fold.
6. Final Fold: Fold the shirt in half again from bottom to top, aligning the edges precisely.
7. Smoothing and Creasing: Run your hands along the edges and creases to smoothen the shirt and sharpen the folds.
Mastering the Art of Tucking a Shirt
Once your shirt is perfectly folded, it’s time to execute a flawless tuck that will keep it securely in place and enhance your overall appearance. Follow these steps to achieve a professional tuck:
1. Preparation: Ensure that your pants or skirt is properly fitted and sits comfortably at the waistline.
2. Buttoning and Folding: Button the top button of your pants or skirt and tuck the shirttail into the waistband, smoothing out any wrinkles.
3. Folding the Sides: Fold the excess shirttail on both sides inward, towards the center of the waistband.
4. Tucking the Back: Bring the tucked-in shirttail up and over the folded sides, creating a smooth and secure hold.
5. Adjusting and Smoothing: Adjust the tuck as needed to ensure it sits comfortably and evenly. Smooth out any wrinkles or creases for a polished finish.
Tips for Flawless Folding and Tucking
- Use a flat and spacious surface: A clean and wrinkle-free surface is crucial for achieving precise folds and a crisp appearance.
- Iron your shirt before folding: Ironing the shirt beforehand will remove wrinkles and make it easier to fold neatly.
- Be mindful of the fabric: Different fabrics may require slightly different folding techniques. For example, delicate fabrics like silk may require more gentle handling and support.
- Practice makes perfect: The more you practice folding and tucking, the more proficient you will become. Don’t get discouraged if you don’t get it right the first time.
- Use a shirt folder: If you find it challenging to fold shirts manually, consider using a shirt folding tool or board for assistance.
Frequently Asked Questions (FAQs)
Q: Why is it important to fold and tuck shirts properly?
A: Properly folded and tucked shirts create a neat and polished appearance, enhancing your overall professional or personal image. They also help maintain the shape and integrity of the shirt, making it less prone to wrinkles and creases.
Q: How often should I fold and tuck my shirts?
A: The frequency of folding and tucking shirts depends on personal preference and the occasion. For daily wear, it’s generally recommended to fold and tuck shirts after each wash. For special occasions or formal settings, it’s advisable to fold and tuck shirts immediately before wearing.
Q: Can I fold and tuck shirts made from different fabrics?
A: Yes, most shirts can be folded and tucked using the techniques described in this guide. However, it’s important to be mindful of the fabric’s properties and adjust your technique accordingly. For instance, delicate fabrics like silk may require more gentle handling and support during folding.
Q: How do I fold and tuck a shirt with a pocket?
A: To fold a shirt with a pocket, first, fold the pocket inward, tucking it into the shirt. Then, follow the steps outlined in the folding guide, ensuring that the pocket remains flat and hidden within the folds.
Q: What are the benefits of using a shirt folder?
A: Shirt folders can provide several benefits, including:
- Uniform and consistent folds: Shirt folders ensure that your shirts are folded to the same size and shape every time.
- Time-saving: Shirt folders can significantly reduce the time spent folding shirts manually.
- Reduced wrinkles: Shirt folders help minimize wrinkles by applying even pressure during folding.
- Ease of use: Shirt folders are generally easy to use, even for individuals who struggle with manual folding.
Conclusion
Mastering the art of folding and tucking shirts is a valuable skill that will elevate your appearance and enhance your overall confidence. By following the step-by-step instructions and incorporating the tips provided in this guide, you can achieve pristine folds and flawless tucks, creating a polished and professional impression wherever you go. Remember, practice makes perfect, so don’t hesitate to experiment with different techniques until you find what works best for you.


