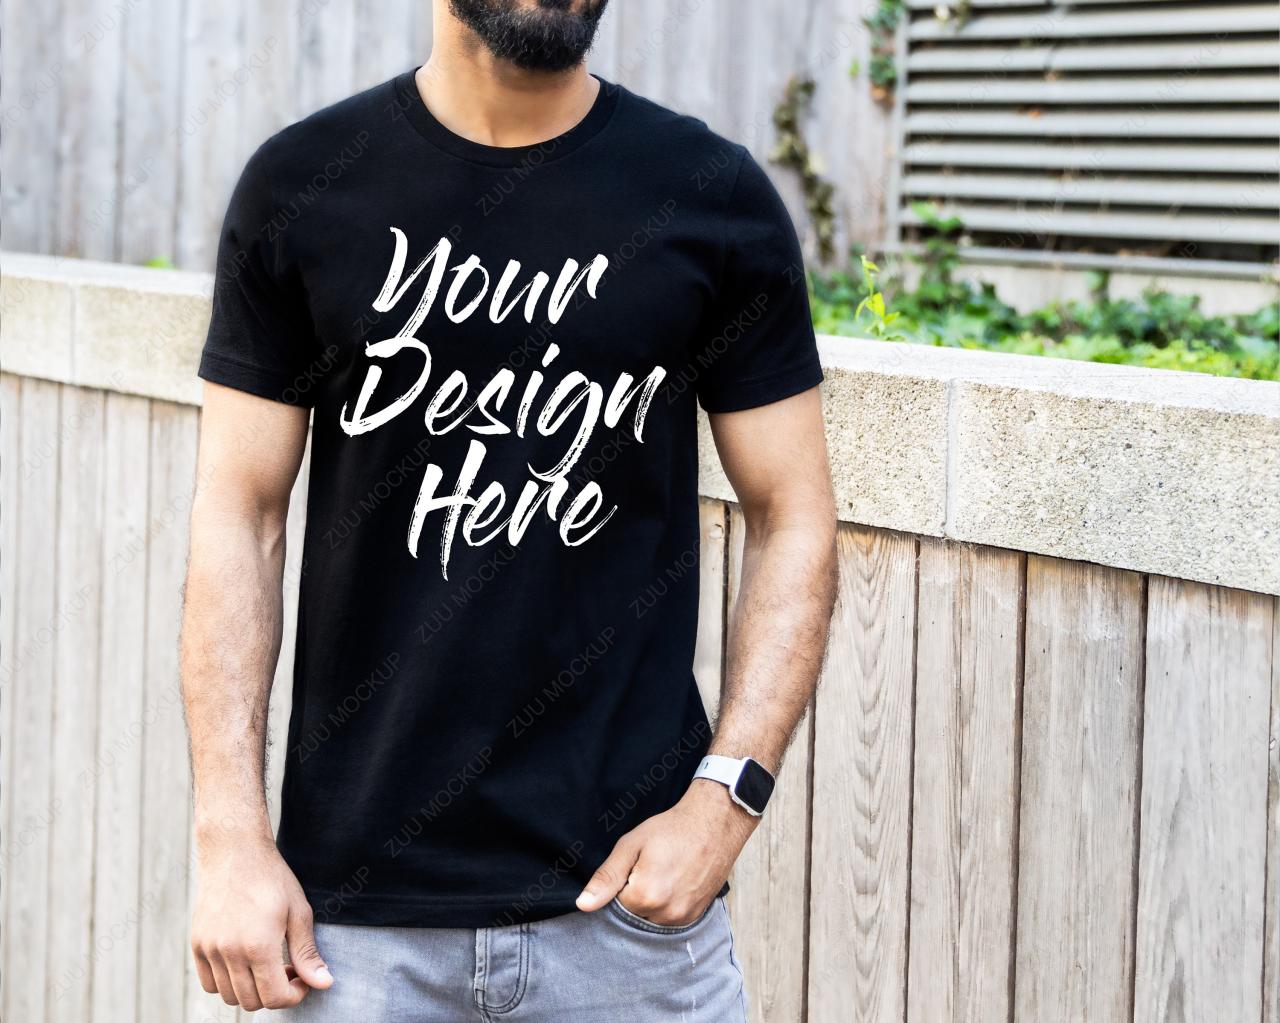
A Comprehensive Guide to Creating T-Shirt Mockups: A Step-by-Step Journey
Showcase your T-shirt designs with captivating mockups that bring them to life. Join us on this comprehensive journey to master the art of T-shirt mockup creation using industry-standard tools and techniques. From setup to customization and presentation, we’ll cover everything you need to know to create stunning mockups that elevate your designs and capture the attention of your audience.
Chapter 1: Setting the Stage
1. Choose the Right Software
Your mockup-making adventure begins with selecting the right software. The industry-leading choice for professional mockups is Adobe Photoshop. Its vast capabilities and extensive resources make it the go-to tool for designers worldwide. If you’re new to Photoshop, don’t worry. We’ll guide you through the basics.
2. Gather Your Resources
To create realistic mockups, you’ll need high-quality resources. Gather well-lit, high-resolution photos of the T-shirt you’ll be showcasing. You can take your own photos or download free or premium stock images.
3. Prepare Your T-Shirt Design
Have your T-shirt design ready in a transparent PNG or PSD format. Ensure that the design is centered and sized appropriately for the T-shirt.
Chapter 2: The Power of Smart Objects
1. Create a New Photoshop Document
Launch Photoshop and create a new document. Set the dimensions to match the size of your T-shirt image.
2. Import Your T-Shirt Image
Drag and drop your T-shirt image onto the Photoshop canvas. Click the "Create Smart Object" checkbox in the import options.
3. Understanding Smart Objects
Smart Objects are like magic in Photoshop. They allow you to edit and transform your T-shirt design non-destructively, without affecting the original image.
Chapter 3: Wrapping Your Design
1. Wrap the Design
With the T-shirt image as a Smart Object, select the "Edit" option in the toolbar and choose "Transform" > "Wrap."
2. Choose a Projection
In the "Projection" options, select "Cylinder" or "Perspective" based on the desired effect. "Cylinder" wraps the design around a cylindrical shape, while "Perspective" adds a 3D perspective.
3. Adjust the Wrap
Drag the handles on the T-shirt image to adjust the wrap until it fits perfectly on your T-shirt mockup.
Chapter 4: Lighting and Shadows
1. Enhance Lighting
To give your mockup a realistic look, adjust the lighting. Use the "Levels" or "Curves" adjustment layers to brighten or darken specific areas of the T-shirt.
2. Add Shadows
Create a new layer and fill it with black. Use the "Multiply" blending mode to add shadows to the T-shirt. Adjust the opacity and blur to create realistic shadows.
3. Refine the Details
Use the "Eraser" tool to remove any excess shadows or refine the edges of your design. Pay attention to the folds and wrinkles on the T-shirt to make it look natural.
Chapter 5: Background and Presentation
1. Choose a Background
Select a background that complements your T-shirt design. You can use a solid color, a gradient, or an image.
2. Place the T-Shirt
Drag and drop your T-shirt mockup onto the background layer. Adjust its position and size as desired.
3. Create a Presentation
Consider using a mockup template or creating your own to showcase your T-shirt designs professionally. Experiment with different angles, perspectives, and backgrounds to create eye-catching presentations.
Chapter 6: Final Touches
1. Save Your Work
Save your mockup as a high-resolution PNG or JPEG file. This will ensure that your mockup is suitable for online use and presentations.
2. Share Your Creation
Proudly share your T-shirt mockups on social media, your portfolio, or with potential customers. Showcase your designs in their best light and captivate your audience.
Frequently Asked Questions (FAQs)
Q: Can I use free software to create T-shirt mockups?
A: Yes, there are free software options available, such as GIMP or Inkscape. However, they may not offer the same level of features and functionality as paid software like Photoshop.
Q: Where can I find free T-shirt templates?
A: There are various websites and resources that offer free T-shirt templates. Some popular options include Placeit, Mockupworld, and Behance.
Q: How can I make my mockups look more realistic?
A: Pay attention to lighting, shadows, and the overall presentation. Use high-quality images, adjust the lighting to enhance the design, and add realistic shadows to create depth.
Q: Can I use my T-shirt mockups for commercial purposes?
A: Ensure that you have the rights to use the T-shirt image and any other elements in your mockup. Check the licensing agreements of the resources you use to avoid copyright issues.
Q: How can I improve my T-shirt design presentation skills?
A: Experiment with different backgrounds, angles, and perspectives to create visually appealing mockups. Consider using a presentation template to showcase your designs professionally.
Conclusion
Creating T-shirt mockups is an essential skill for designers and entrepreneurs. By mastering the techniques outlined in this guide, you’ll be able to showcase your designs with confidence and create stunning presentations
