
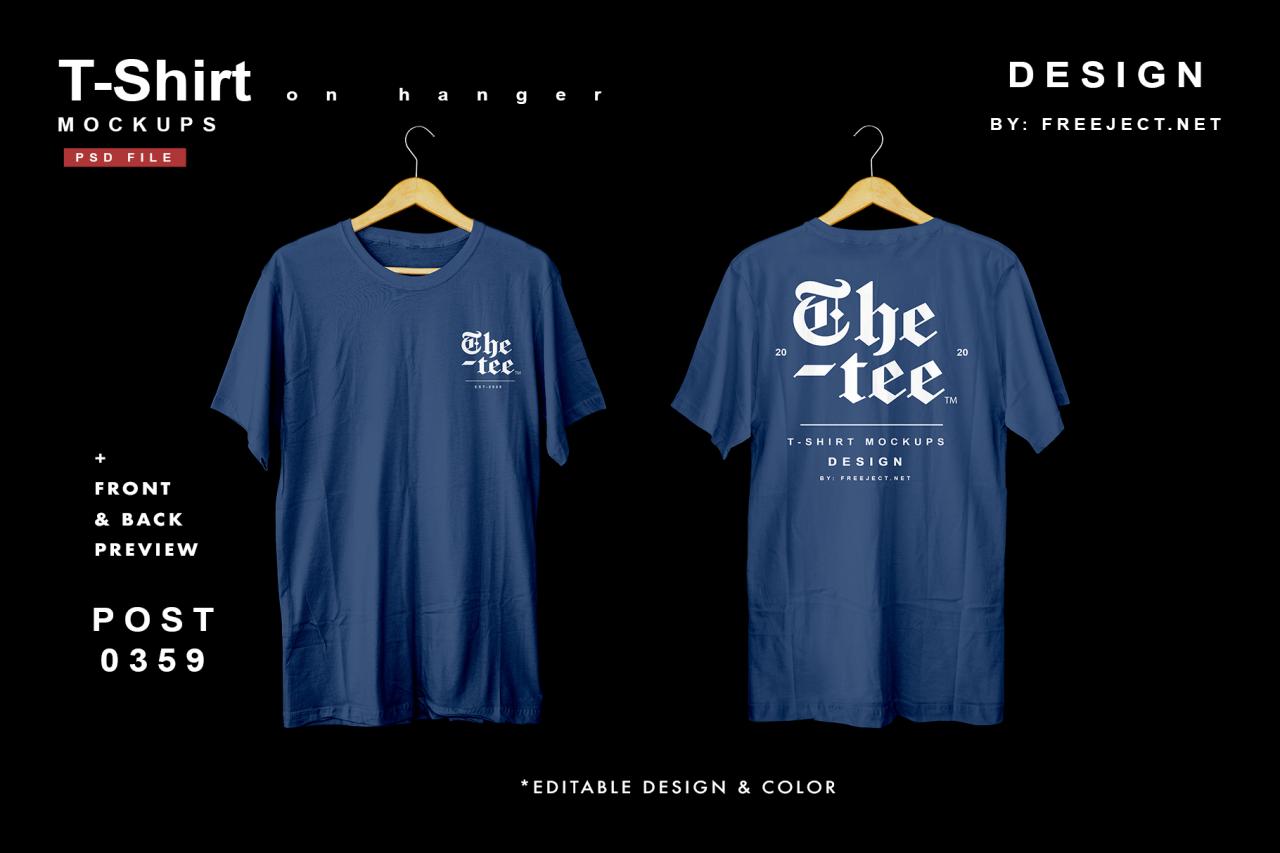
How to Make a T-Shirt Mockup in Photoshop: A Comprehensive Guide
Creating realistic t-shirt mockups in Photoshop is a valuable skill for designers, marketers, and e-commerce businesses. It allows you to showcase your designs on a physical product without the need for costly photoshoots or production samples.
This detailed guide will take you step-by-step through the process of creating a professional-looking t-shirt mockup in Photoshop, covering everything from choosing the right resources to perfecting the final details.
Step 1: Gathering Materials
T-Shirt Template
The foundation of your mockup is the t-shirt template. Search for high-quality templates online or create your own using a vector graphics software like Adobe Illustrator. Ensure the template is in a transparent PNG format, allowing you to easily place your design over it.
T-Shirt Design
If you have a specific design in mind, prepare it in Photoshop or another design software. Save the design as a PNG file with a transparent background.
Step 2: Setting Up Photoshop
- Open Photoshop: Launch Adobe Photoshop and create a new document with the desired dimensions for your mockup. Typically, a resolution of 2000px by 2000px is sufficient.
- Import T-Shirt Template: Drag and drop the t-shirt template PNG into the Photoshop document.
- Create Smart Object: Right-click on the t-shirt template layer and select "Convert to Smart Object." This will allow you to edit the template’s properties later without distorting the image.
Step 3: Placing Your Design
- Open Design File: In a separate Photoshop file, open your t-shirt design PNG.
- Copy Design: Select and copy your design to the clipboard.
- Paste into Mockup: Switch back to your mockup document and paste the design onto a new layer above the smart object.
- Resize and Position: Use the Free Transform tool (Ctrl/Cmd + T) to resize and position the design on the t-shirt template.
Step 4: Adjusting the Template
T-Shirt Color
- Double-click Smart Object: To change the t-shirt’s color, double-click on the smart object layer’s thumbnail.
- Adjust Hue/Saturation: In the "Hue/Saturation" panel, adjust the "Hue" slider to change the color of the t-shirt.
- Apply Changes: Click "OK" to apply the color change to the mockup.
T-Shirt Folds and Wrinkles
- Add Texture: To create realistic folds and wrinkles, use a layer mask on the smart object layer.
- Create Gradient: Fill the layer mask with a linear gradient from black to white, creating lighter areas where wrinkles should appear.
- Adjust Opacity: Adjust the layer mask’s opacity to control the intensity of the wrinkles.
Step 5: Adding Shadows and Highlights
Shadows
- Create New Layer: Create a new layer above the smart object layer and fill it with black.
- Add Gaussian Blur: Apply a Gaussian Blur filter (Filter > Blur > Gaussian Blur) to the shadow layer.
- Adjust Opacity: Reduce the opacity of the shadow layer to make it more subtle.
Highlights
- Create New Layer: Create a new layer above the shadow layer and fill it with white.
- Add Gaussian Blur: Apply a Gaussian Blur filter to the highlight layer.
- Invert Layer: Select "Invert" from the Layer menu to reverse the colors of the highlight layer.
- Adjust Opacity: Reduce the opacity of the highlight layer to create a subtle glow.
Step 6: Final Touches
Background
- Choose Background: Select a solid color, gradient, or image for the background of your mockup.
- Create New Layer: Create a new layer at the bottom of the Layers panel.
- Fill Background: Fill the new layer with the desired background color or image.
Perspective
- Transform Template: Select the smart object layer and use the Perspective Warp tool (Edit > Transform > Perspective Warp) to adjust the perspective of the t-shirt.
- Adjust Handles: Drag and move the handles to create a realistic drape effect.
Details
- Adjust Shadows: Fine-tune the shadows and highlights by adjusting their opacity and placement.
- Add Embellishments: Include additional elements to enhance the realism, such as labels, tags, or creases.
- Save Mockup: Save your completed mockup as a high-resolution PNG or JPEG file.
Troubleshooting
Design is Misaligned
- Check if the smart object is scaled or rotated correctly.
- Use the Free Transform tool to adjust the design’s position precisely.
Folds and Wrinkles Look Unnatural
- Adjust the gradient opacity in the layer mask to control the intensity of the wrinkles.
- Experiment with different Gaussian Blur settings to create a more realistic effect.
Mockup Looks Pixelated
- Ensure that the t-shirt template and design are in high resolution.
- Upscale the mockup document if necessary (Image > Image Size).
Background is Distracting
- Choose a subtle background that complements the t-shirt design.
- Adjust the opacity of the background layer to make it less prominent.
Frequently Asked Questions (FAQs)
What is the ideal resolution for a t-shirt mockup?
A resolution of 2000px by 2000px is generally sufficient for most purposes. However, you may need a higher resolution if you plan to print the mockup or display it on a large scale.
Can I use my own photos as the background?
Yes, you can use your own high-quality photos as the background for your mockup. Ensure the image is appropriately sized and cropped to fit the dimensions of your document.
How do I add a logo to the t-shirt?
Create a new layer in your mockup document and place your logo design on it. Use the Free Transform tool to resize and position the logo on the t-shirt.
Can I create different styles of t-shirts?
Yes, you can create mockups for various t-shirt styles, such as crew necks, V-necks, and polos. Simply find or create templates for the desired styles and follow the same steps outlined in this guide.
What are some tips for creating realistic mockups?
- Use high-quality templates and design files.
- Experiment with different lighting and shadow effects.
- Add subtle details to enhance realism, such as labels and tags.
- Pay attention to the perspective and drape of the t-shirt.


