
Crafting T-shirt Templates in Photoshop: A Comprehensive Guide for Digital Artists
Introduction
T-shirt design has emerged as a popular form of self-expression, allowing individuals to showcase their creativity and style. However, creating custom T-shirt designs from scratch can be a daunting task, especially for those new to the world of digital art. Photoshop, a widely used image editing software, provides a robust platform for crafting professional-grade T-shirt templates that serve as the foundation for stunning designs. This comprehensive guide will walk you through the step-by-step process of creating a T-shirt template in Photoshop, empowering you to bring your design ideas to life with ease.
Step 1: Understanding T-Shirt Template Basics
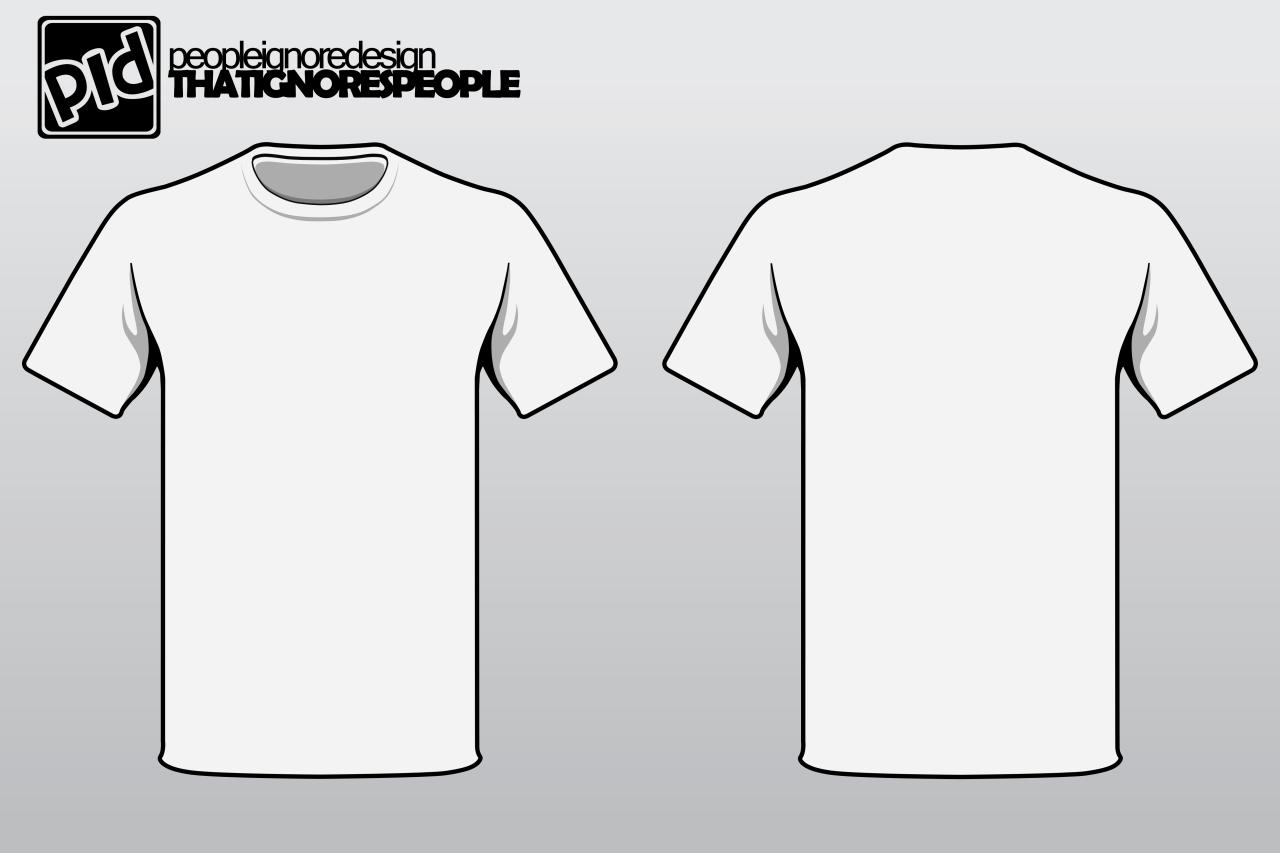
Before delving into the technicalities of Photoshop, it’s essential to grasp the fundamental elements of a T-shirt template. A T-shirt template serves as a pre-defined canvas that outlines the shape, size, and key features of a specific T-shirt model. This template guides the placement and alignment of your designs, ensuring their compatibility with the actual T-shirt garment.
Step 2: Setting Up the Photoshop Workspace
-
Create a New Document: Launch Photoshop and create a new document with the dimensions corresponding to the T-shirt size you intend to design for. For instance, a standard adult T-shirt typically measures around 20 inches in width and 28 inches in height.
-
Set the Resolution: The resolution of your document determines the quality and sharpness of your design when printed. For T-shirt printing, a resolution of 300 pixels per inch (ppi) is recommended for optimal results.
-
Establish the Color Mode: Select the "RGB" color mode, as it is the standard for digital displays and web graphics.
Step 3: Drawing the T-Shirt Outline
-
Activate the Rectangle Tool: Select the Rectangle Tool from the Tools panel on the left-hand side of the Photoshop interface.
-
Draw the Front and Back Panels: Drag the cursor to draw a rectangle that represents the front panel of the T-shirt. Duplicate this rectangle to create a separate layer for the back panel.
-
Round the Corners: Select the rounded rectangle option from the Shape dropdown menu in the Options bar located at the top of the screen. This will add a slight curvature to the corners of the rectangles, replicating the typical T-shirt shape.
Step 4: Adding Details to the T-Shirt
-
Create Collar and Sleeve Lines: Use the Line Tool to draw lines representing the collar, neckline, and sleeve openings. Adjust the thickness and color of these lines to match the desired T-shirt design.
-
Divide the Front Panel: Draw horizontal lines across the front panel to create sections for different design elements, such as the chest pocket, logo placement, and bottom hem.
-
Add Special Features: If the T-shirt incorporates unique features, such as side slits or a hood, use the Pen Tool or other appropriate tools to draw and incorporate these details into your template.
Step 5: Creating Sleeve Templates
-
Draw the Sleeve Shape: Use the Pen Tool to trace the shape of a single sleeve. Ensure that the sleeve is symmetrical to maintain a balanced design.
-
Duplicate and Mirror: Duplicate the sleeve layer and flip it horizontally to create the corresponding sleeve for the other side.
-
Align the Sleeves: Position the sleeves alongside the T-shirt body, aligning them with the sleeve openings.
Step 6: Finalizing the Template
-
Group Layers: Organize your layers by grouping them into categories, such as "Front Panel," "Back Panel," and "Sleeves." This enhances the clarity and organization of your template.
-
Save the Template: Save your T-shirt template as a PSD file. This format allows for future editing and modification as needed.
Using Your T-Shirt Template
Once your T-shirt template is complete, you can use it as a foundation for creating custom designs. Simply open the PSD file in Photoshop and start adding your artwork, graphics, and text. The template will provide the necessary guidelines and constraints to ensure that your designs are properly aligned and sized for the specific T-shirt model.
FAQ
Q: What are the ideal dimensions for a T-shirt template?
A: The dimensions may vary depending on the T-shirt size and style. However, a standard adult T-shirt typically measures around 20 inches in width and 28 inches in height.
Q: What file format should I save my T-shirt template in?
A: Save your template as a PSD file. This format preserves the layers and allows for future editing and modification.
Q: Can I use my T-shirt template for different T-shirt models?
A: Yes, you can use your template as a starting point for creating templates for different T-shirt models. However, you may need to adjust the dimensions and details to match the specific garment.
Q: How can I ensure that my designs are properly aligned on the T-shirt?
A: Use the template’s guidelines, such as the center line and shoulder seams, to guide the placement of your artwork. Additionally, you can create guides within Photoshop to assist with alignment.
Q: Can I share my T-shirt template with others?
A: Yes, you can share your template with others, but it’s important to note that the template may need to be adjusted to fit different T-shirt sizes and styles.
Conclusion
Creating T-shirt templates in Photoshop empowers you to develop professional-grade foundations for your custom designs. By following the comprehensive steps outlined in this guide, you can craft templates that accurately represent the dimensions, shape, and details of specific T-shirt models. With practice and creativity, you’ll be able to produce stunning T-shirt designs that bring your ideas to life. Remember, the key to successful T-shirt template creation lies in understanding the fundamentals, setting up your workspace effectively, and meticulously executing each step.


