
Mastering Shirt Mockup Magic in Adobe Photoshop: A Comprehensive Guide
Introduction
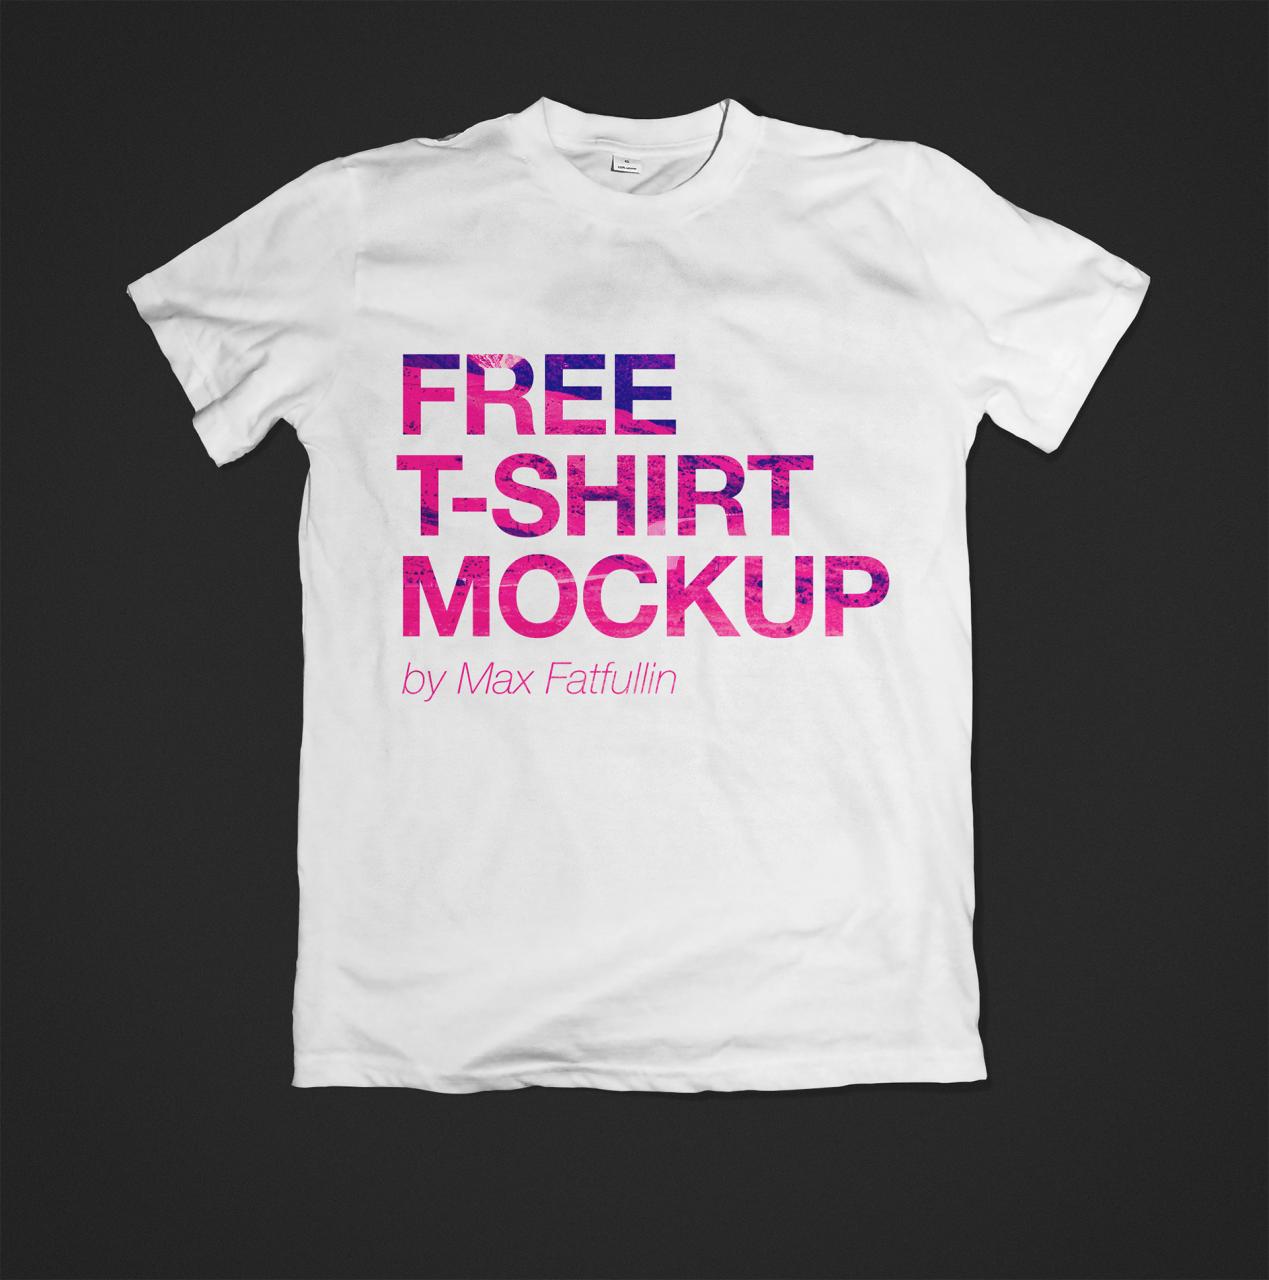
In the realm of fashion and graphic design, creating realistic shirt mockups has become an indispensable tool for showcasing designs and captivating audiences. By harnessing the power of Adobe Photoshop, you can transform your designs into stunning, lifelike simulations of printed shirts, effortlessly elevating your presentations and leaving a lasting impression.
This comprehensive guide will delve into the intricacies of shirt mockup creation in Photoshop, empowering you with the knowledge and techniques to produce professional-grade mockups that seamlessly integrate your designs into real-world scenarios. From selecting the perfect mockup to adding realistic wrinkles and adjusting lighting, we will explore every step of the process, ensuring you master the art of shirt mockups with ease.
Choosing the Perfect Shirt Mockup
The foundation of a captivating shirt mockup lies in selecting the right mockup template. This choice sets the stage for your design and influences the overall impact of your presentation. Here are some essential factors to consider:
-
Style and Fit: Opt for mockups that align with your design’s intended style and fit. Whether it’s a classic crew neck tee, a trendy V-neck, or a sophisticated dress shirt, ensure the mockup complements your design’s aesthetic.
-
Color and Texture: Pay attention to the color and texture of the mockup, especially if they contrast with your design. Choose a mockup that either harmonizes with your design or provides a neutral backdrop for it to shine.
-
Neckline and Sleeves: Consider the neckline and sleeve length of the mockup. They should be compatible with your design and present it in the most flattering way.
-
Resolution and Format: Select mockups with high resolution and suitable format for your intended use. Common formats include PSD (Photoshop), PNG, and JPEG.
Importing Your Design into Photoshop
With your chosen mockup template at hand, it’s time to import your design into Photoshop. Follow these steps:
- Open the mockup file in Photoshop and create a new layer.
- Copy and paste or drag and drop your design onto the new layer.
- Resize and position your design within the mockup’s designated area.
- Adjust the opacity of your design layer if needed to achieve the desired effect.
Creating Realistic Wrinkles
Wrinkles add depth and realism to your shirt mockups. Photoshop offers several methods to simulate wrinkles effectively:
-
Filter Gallery: Utilize the "Filter > Other > High Pass" filter to emphasize edges and create subtle wrinkles. Adjust the radius setting to control the intensity.
-
Warp Tool: Select the "Edit > Puppet Warp" tool and place control points along the edges of your design. Drag the points to introduce wrinkles and folds.
-
Liquify Tool: Activate the "Filter > Liquify" tool and use the "Forward Warp Tool" to gently push and pull areas of your design, creating realistic creases.
Adjusting Lighting and Shadows
Lighting plays a crucial role in enhancing the realism of your shirt mockup. Adjust the lighting and shadows to create a cohesive and believable presentation:
-
Brightness and Contrast: Utilize the "Image > Adjustments > Brightness/Contrast" options to enhance the overall brightness and contrast of your mockup.
-
Levels: Adjust the "Levels" under "Image > Adjustments" to control the darkest, lightest, and mid-tone values, creating depth and dimension.
-
Shadows and Highlights: Use the "Shadows/Highlights" tool under "Image > Adjustments" to refine the shadows and highlights, adding subtle details and definition to your mockup.
Enhancing Color and Vibrancy
Color and vibrancy can significantly impact the visual appeal of your shirt mockup. Here’s how to adjust these attributes:
-
Hue/Saturation: Access "Image > Adjustments > Hue/Saturation" to modify the hue, saturation, and lightness of your design, matching it to the mockup’s color scheme.
-
Vibrance: Enhance the intensity of colors without affecting the overall saturation using the "Vibrance" tool under "Image > Adjustments."
-
Color Balance: Adjust the color balance under "Image > Adjustments > Color Balance" to correct any color casts and create a harmonious color palette.
Saving Your Mockup
After meticulously crafting your shirt mockup, it’s time to save your masterpiece for future use or presentation:
-
File Formats: Choose the appropriate file format based on your needs. PSD is ideal for preserving layers and edits, while PNG and JPEG are suitable for web and print.
-
File Size Optimization: Optimize the file size of your mockup for efficient storage and sharing without compromising quality.
-
Naming Conventions: Use a clear and descriptive naming convention for your saved mockups, making them easy to locate and identify in the future.
Frequently Asked Questions (FAQs)
1. Can I customize the mockup template itself?
Yes, most mockup templates offer some level of customization. You can modify the shirt color, add patterns, or even change the background using Photoshop’s editing capabilities.
2. How can I create a mockup for a specific shirt style that’s not available as a template?
If you can’t find a suitable template, you can create your own using a photograph of a real shirt. Simply import the photo into Photoshop and follow the same steps outlined in this guide.
3. Is it possible to animate my shirt mockup?
Yes, you can create animated shirt mockups using Adobe After Effects or other animation software. By importing your mockup and adding keyframes, you can bring your design to life.
4. How can I use my shirt mockups for marketing and sales?
Shirt mockups are versatile tools for marketing and sales. You can use them to showcase your designs on online marketplaces, social media, or e-commerce websites.
5. What are some tips for creating high-quality shirt mockups?
- Pay attention to details, such as wrinkles and shadows, to enhance realism.
- Experiment with different lighting and color adjustments to find the most flattering presentation for your design.
- Use high-resolution templates and images to ensure clarity and sharpness.
- Consider the intended use and audience to tailor your mockup accordingly.
Conclusion
Mastering the art of shirt mockups in Photoshop empowers you to create stunning visual representations of your designs, elevating your presentations and capturing the attention of your audience. By following the techniques outlined in this guide, you can transform your designs into lifelike simulations, showcasing them in a professional and captivating manner.
Remember, practice is key to honing your skills. Experiment with different mockups, lighting scenarios, and design elements to discover your own unique style. As you delve deeper into the world of shirt mockups, you will undoubtedly become adept at creating visually captivating presentations that leave a lasting impression.


