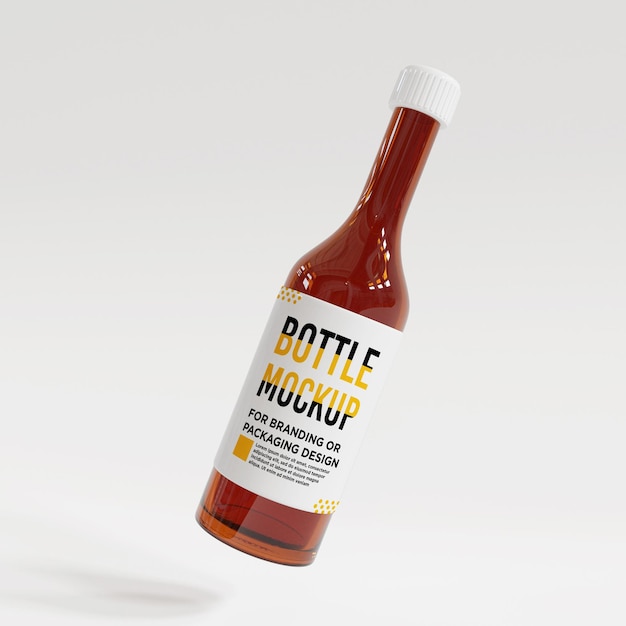
Photoshop 3D: Liquor Bottle Mockup — An In-Depth Guide
Introduction
The world of 3D design has become increasingly accessible, thanks to the remarkable advancements in software and technology. Adobe Photoshop has emerged as a formidable tool for creating realistic 3D mockups and visualizations, making it ideal for various industries, including packaging design. This comprehensive guide will delve into the intricacies of creating a captivating liquor bottle mockup using Photoshop’s 3D capabilities.
Setting Up Your 3D Workspace
-
Install Photoshop: Ensure you have the latest version of Adobe Photoshop installed on your computer to access the 3D features.
-
Enable 3D Workspace: Navigate to the top menu bar and select "Window" > "Workspace" > "3D." This will transform your workspace into a 3D-centric environment.
-
Create a New Document: Click "File" > "New" to create a new document. In the "New Document" dialog box, set the width and height to match your desired mockup size.
Importing the Liquor Bottle 3D Model
-
Acquire a 3D Model: Obtain a high-quality 3D model of a liquor bottle from online marketplaces or 3D design libraries. Ensure the model is compatible with Photoshop’s 3D capabilities.
-
Import the Model: Drag and drop the 3D model file into the Photoshop document or use the "3D" > "New 3D Model from File" option from the top menu bar.
-
Scale and Position the Model: Use the Scale tool (S) and Move tool (V) to adjust the size and position of the liquor bottle model within the document.
Customizing the Liquor Bottle Appearance
-
Change the Color: Select the liquor bottle model and access the "Properties" panel on the right. Under the "Material" tab, click on the "Diffuse" color swatch and choose a new color for the bottle.
-
Add a Label or Design: Create a new layer and design a label or artwork for the liquor bottle using Photoshop’s drawing tools. Export the label as a separate image file.
-
Apply the Label: In the "Properties" panel, click on the "Base Color" channel and choose the image of your label. Adjust the "Opacity" and "Mapping" options to overlay the label onto the bottle.
Creating a Realistic Scene
-
Set Up Lighting: Go to "3D" > "Lighting" > "New Light." Choose a "Point" or "Directional" light and adjust its position and intensity to illuminate the scene.
-
Add a Background: Create a new layer and fill it with a color or gradient to serve as the background of the scene.
-
Adjust the Camera Angle: Use the "3D" > "Camera" > "Set Active Camera" option to select the camera. Rotate and zoom the camera to achieve the desired perspective.
Rendering the Mockup
-
Set Render Settings: Go to "3D" > "Render" > "Render Settings." Adjust the "Quality" and "Anti-aliasing" options to control the rendering quality.
-
Render the Mockup: Click the "Render" button to start the rendering process. The rendering time may vary depending on the complexity of the scene and your computer’s specifications.
-
Save the Render: Once the rendering is complete, go to "File" > "Save" to export the mockup as a JPG, PNG, or other desired image format.
FAQ
- What are the system requirements for using Photoshop 3D?
Photoshop 3D requires a computer with a dedicated graphics card (GPU) with at least 2GB of VRAM. It is also recommended to have a multi-core CPU and ample RAM for smooth performance.
- Can I import 3D models from other software into Photoshop?
Yes, Photoshop supports importing 3D models from various sources, including OBJ, FBX, 3DS, and more.
- How can I create custom materials and textures for my 3D models?
Photoshop provides tools within the "Properties" panel under the "Material" tab, allowing you to create custom materials and texture maps.
- What are the benefits of using Photoshop 3D for packaging design?
Photoshop 3D enables designers to create realistic mockups of packaging, allowing them to visualize the final product before printing or production. It allows for quick iterations and adjustments, saving time
