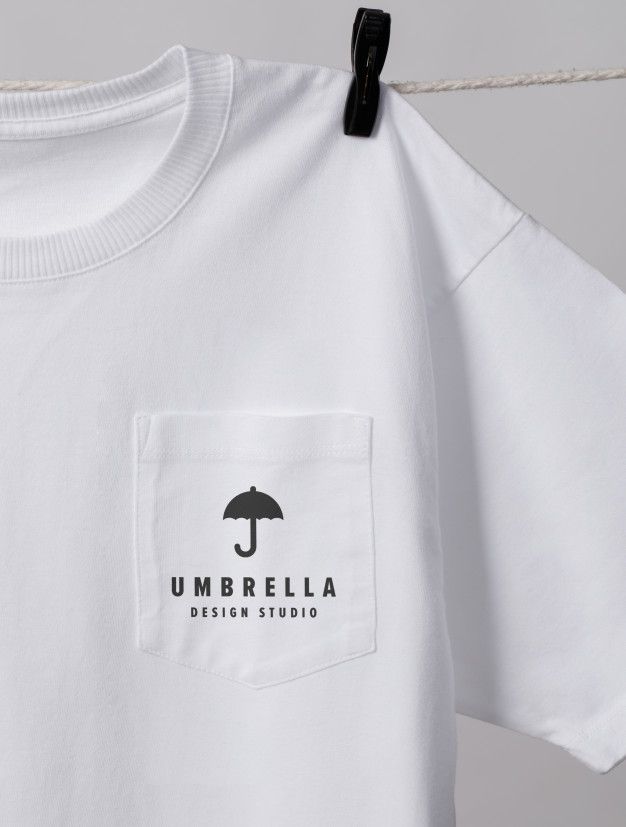
The Comprehensive Guide to Pocket Tee Mockups: From Creation to Customization
Introduction
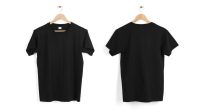
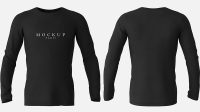
In the competitive world of fashion and e-commerce, presenting your products in a visually appealing and realistic manner is paramount. This is where pocket tee mockups come into play, offering a versatile and efficient solution for showcasing your designs on high-quality apparel. Whether you’re a designer, brand owner, or online retailer, understanding the ins and outs of pocket tee mockups is crucial for elevating your product presentations.
This comprehensive guide will delve deep into the world of pocket tee mockups, covering everything you need to know. From the basics of creating a mockup to advanced customization techniques, we’ll equip you with the knowledge and skills to create stunning visuals that captivate your audience.
Chapter 1: Creating a Pocket Tee Mockup
1.1 Choosing the Right Tools
The first step towards creating a pocket tee mockup is selecting the appropriate tools. There are numerous software options available, both free and premium, each with its own set of features and capabilities. Some popular choices include:
- Adobe Photoshop
- GIMP
- Figma
- Canva
- Placeit
1.2 Sourcing High-Quality Templates
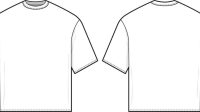
Once you have chosen your software, it’s time to source high-quality pocket tee templates. These templates provide a realistic foundation for your mockups, ensuring that your designs are showcased in an accurate and professional manner. You can find free and paid templates online from various sources:
- Mockup World
- Creative Market
- Envato Elements
- Behance
1.3 Using the Template
Once you have acquired a template, import it into your chosen software. Follow the instructions provided with the template to ensure proper placement and alignment. Most templates come with smart objects or layers that allow you to easily insert your designs and customize the appearance of the mockup.
Chapter 2: Customizing Your Mockup
2.1 Adding Your Design
The most important aspect of creating a pocket tee mockup is adding your design. Make sure your design is high-resolution and in the correct format. Use the smart objects or layers provided in the template to insert your design seamlessly.
2.2 Adjusting the Fit
Depending on the template you choose, you may have the ability to adjust the fit of the pocket tee mockup. This is particularly useful if you want to showcase your design on different body types or sizes. Most software allows you to tweak the dimensions, shape, and wrinkles to achieve the desired fit.
2.3 Changing the Color
The color of the pocket tee can significantly impact the overall look of your mockup. Most templates offer the option to change the color of the fabric. Experiment with different colors to find one that complements your design and target audience.
2.4 Adding Shadows and Highlights
Adding shadows and highlights to your mockup can enhance its realism and depth. Use the lighting tools in your software to create realistic shadows and highlights that match the environment in which your pocket tee would be worn.
Chapter 3: Advanced Customization Techniques
3.1 Creating a Detailed Pocket
The pocket is a key feature of a pocket tee, so it’s important to create a detailed and realistic representation in your mockup. You can use layers and masks to create a realistic texture, stitching, and folds.
3.2 Adding Background Elements
Adding background elements, such as a wall, floor, or accessories, can help to contextualize your pocket tee mockup and make it more visually appealing. Use high-quality images or brushes to create a believable environment.
3.3 Using Smart Objects
Smart objects are a powerful feature in Adobe Photoshop that allow you to edit your designs non-destructively. This means that you can make changes to your design without affecting the original file. Smart objects are particularly useful for creating multiple variations of your mockup with different colors, patterns, or graphics.
Chapter 4: Tips for Creating High-Quality Mockups
- Use high-resolution images and templates.
- Pay attention to the lighting and shadows.
- Create a realistic environment for your mockup.
- Experiment with different customization options.
- Get feedback from others before finalizing your mockup.
Chapter 5: Frequently Asked Questions (FAQ)
Q: What is the best software for creating pocket tee mockups?
A: The best software depends on your needs and budget. Adobe Photoshop is the industry standard, but there are also free and affordable alternatives like GIMP and Canva.
Q: Where can I find high-quality pocket tee templates?
A: You can find both free and paid templates from online sources like Mockup World, Creative Market, and Envato Elements.
Q: How do I add shadows and highlights to my mockup?
A: Use the lighting tools in your software to create realistic shadows and highlights. Pay attention to the direction of the light source and the surrounding environment.
Q: How can I create a detailed pocket?
A: Use layers and masks to add texture, stitching, and folds to your pocket. Experiment with different settings to achieve the desired level of detail.
Q: What are some tips for creating high-quality mockups?
A: Use high-resolution images, pay attention to lighting and shadows, create a realistic environment, experiment with customization options, and get feedback from others.
Conclusion
Creating and customizing pocket tee mockups is an essential skill for anyone involved in the fashion industry. By understanding the techniques and tips outlined in this guide, you can create stunning visuals that showcase your designs in a professional and captivating manner. Whether you’re a designer, brand owner, or online retailer, mastering the art of pocket tee mockups will elevate your product presentations and drive sales.

