
The Polo Shirt in Photoshop: A Comprehensive Guide
Introduction
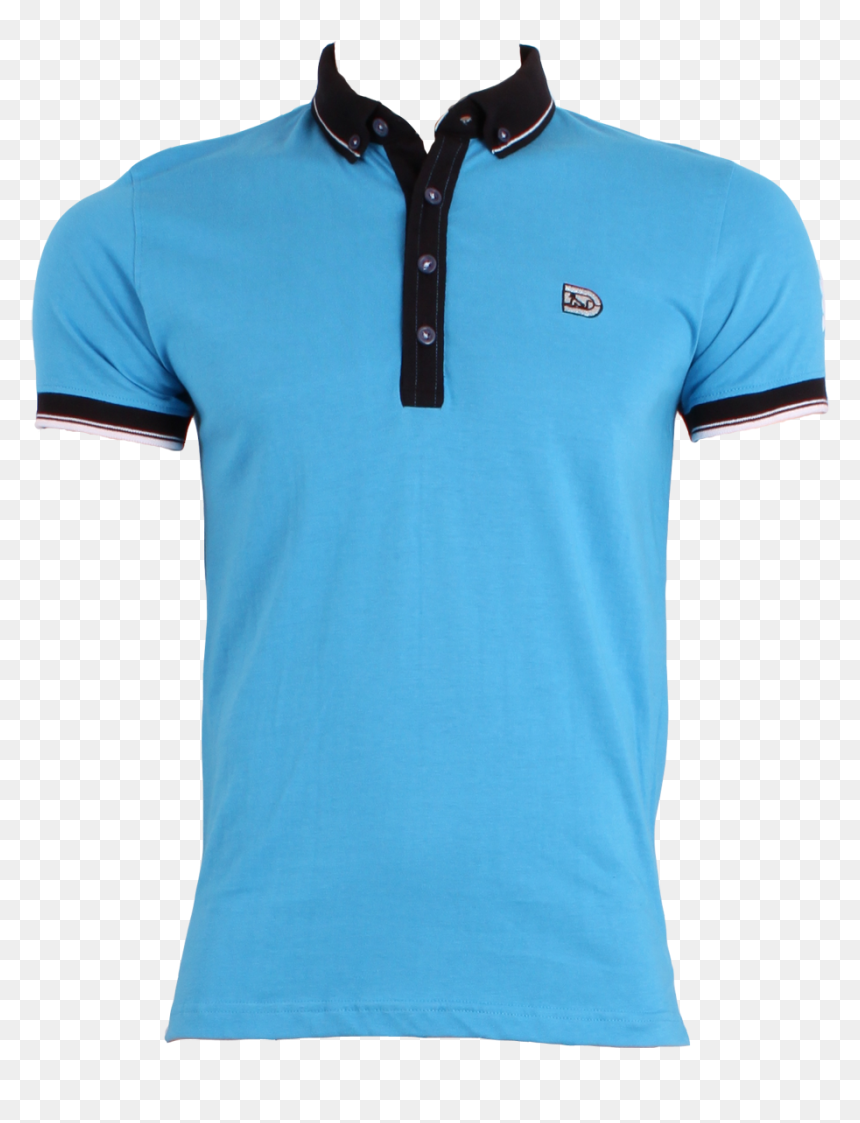
The polo shirt, a timeless classic that exudes both style and comfort, has become a wardrobe staple for individuals of all ages and backgrounds. Its versatility makes it suitable for a wide range of occasions, from casual outings to formal events. In the realm of digital design, the polo shirt has also gained immense popularity, with graphic designers and photographers frequently incorporating it into their creations. This comprehensive guide will delve into the intricacies of working with polo shirts in Adobe Photoshop, providing a thorough understanding of the techniques and resources available to enhance your designs.
Creating a Polo Shirt from Scratch
-
New Document: Begin by creating a new Photoshop document with the desired dimensions. The resolution should be set according to the intended use of the design. For web graphics, a resolution of 72 ppi is sufficient, while for print applications, a higher resolution of 300 ppi or more is recommended.
-
Layer Structure: Establish a well-organized layer structure to facilitate easy editing and management of the polo shirt design. Create separate layers for the shirt body, collar, sleeves, buttons, and any additional elements.
-
Shirt Body: Use the Ellipse Tool to draw an oval shape that forms the body of the polo shirt. Adjust the size and proportions as needed to achieve the desired look. Fill the shape with the base color of the shirt.
-
Collar: Create a new layer for the collar. Draw a curved rectangle using the Rectangle Tool and position it at the top of the shirt body. Apply a slightly darker shade of the base color to the collar for a subtle contrast.
-
Sleeves: Draw two rectangles using the Rectangle Tool to form the sleeves. Rotate and position them at the sides of the shirt body. Fill the sleeves with the same color as the shirt body or a different color for a contrasting effect.
-
Buttons: Create small circles using the Ellipse Tool to represent the buttons. Position them evenly spaced along the front of the shirt body. Apply a contrasting color to make the buttons stand out.
Customizing the Polo Shirt
-
Colors and Patterns: Experiment with different colors and patterns to create unique and eye-catching polo shirt designs. Use the Fill Tool to apply solid colors or create gradients and patterns using the Gradient Tool or Pattern Stamp Tool.
-
Textures: Add realistic textures to the polo shirt to enhance its visual appeal. Download high-quality fabric textures from online resources or create your own using Photoshop’s filters and brushes.
-
Logos and Graphics: Incorporate logos, graphics, or text onto the polo shirt to personalize it or add branding elements. Use the Type Tool to add text and adjust its font, size, and color. Import logos or create your own using Photoshop’s drawing tools.
Advanced Techniques
-
3D Effects: Transform the polo shirt into a realistic 3D object by using Photoshop’s 3D capabilities. Apply lighting, shadows, and reflections to create depth and dimension.
-
Layer Styles: Utilize layer styles to add effects such as drop shadows, bevels, and embossing to enhance the appearance of the polo shirt. Experiment with different settings to achieve the desired visual impact.
-
Smart Objects: Convert the polo shirt into a smart object to preserve its original quality and allow for non-destructive editing. Make adjustments to the shirt’s size, shape, or color without affecting the underlying layers.
Resources for Polo Shirt Designs
-
Stock Images: Access a vast library of high-quality polo shirt stock images from websites such as Shutterstock, iStockphoto, and Getty Images.
-
Templates: Utilize pre-made polo shirt templates to save time and effort. Numerous websites offer free and premium templates in various styles and colors.
-
Brushes: Download specialized Photoshop brushes designed specifically for creating realistic polo shirt textures. These brushes can be found on websites like DeviantArt and BrushKing.
Frequently Asked Questions
Q: What is the best file format for saving a polo shirt design in Photoshop?
A: For web graphics, save the design in PNG or JPEG format. For print applications, use TIFF or PSD format to preserve image quality and allow for further editing.
Q: How do I create a realistic fold in the polo shirt?
A: Use the Warp Tool to distort and shape the polo shirt layer, creating the illusion of a fold. Adjust the opacity and blend mode of the folded area to enhance its realism.
Q: Can I create a polo shirt design with multiple layers of fabric?
A: Yes, by using layer masks and blending modes, you can create the effect of multiple layers of fabric. Experiment with different opacity levels and blend modes to achieve the desired effect.
Conclusion
Mastering the art of creating polo shirts in Photoshop opens up endless possibilities for graphic designers and photographers. With a comprehensive understanding of the techniques and resources available, you can effortlessly design unique and visually appealing polo shirts that elevate your creations. Whether you’re creating designs for personal projects, commercial purposes, or simply exploring your creativity, this guide will empower you to achieve professional-quality results.
Additional Tips
-
Reference Images: Gather reference images of real polo shirts to study their construction, details, and textures. This will help you create more realistic and accurate designs.
-
Experiment with Blending Modes: Explore different blending modes to achieve various effects, such as creating shadows, highlights, and textures. Experimentation is key to discovering new and creative ways to enhance your designs.
-
Pay Attention to Details: Focus on the intricate details of the polo shirt, such as the collar, buttons, and stitching. By paying attention to these details, you can create a visually appealing and polished design.
-
Seek Feedback: Share your polo shirt designs with others and seek their feedback. Constructive criticism can help you identify areas for improvement and refine your skills.
-
Practice Regularly: The key to mastering polo shirt design in Photoshop is practice. Create multiple designs, experiment with different techniques, and不断提高您的技能。
With dedication and practice, you can become proficient in creating stunning polo shirt designs that will impress your audience and enhance your digital creations.


