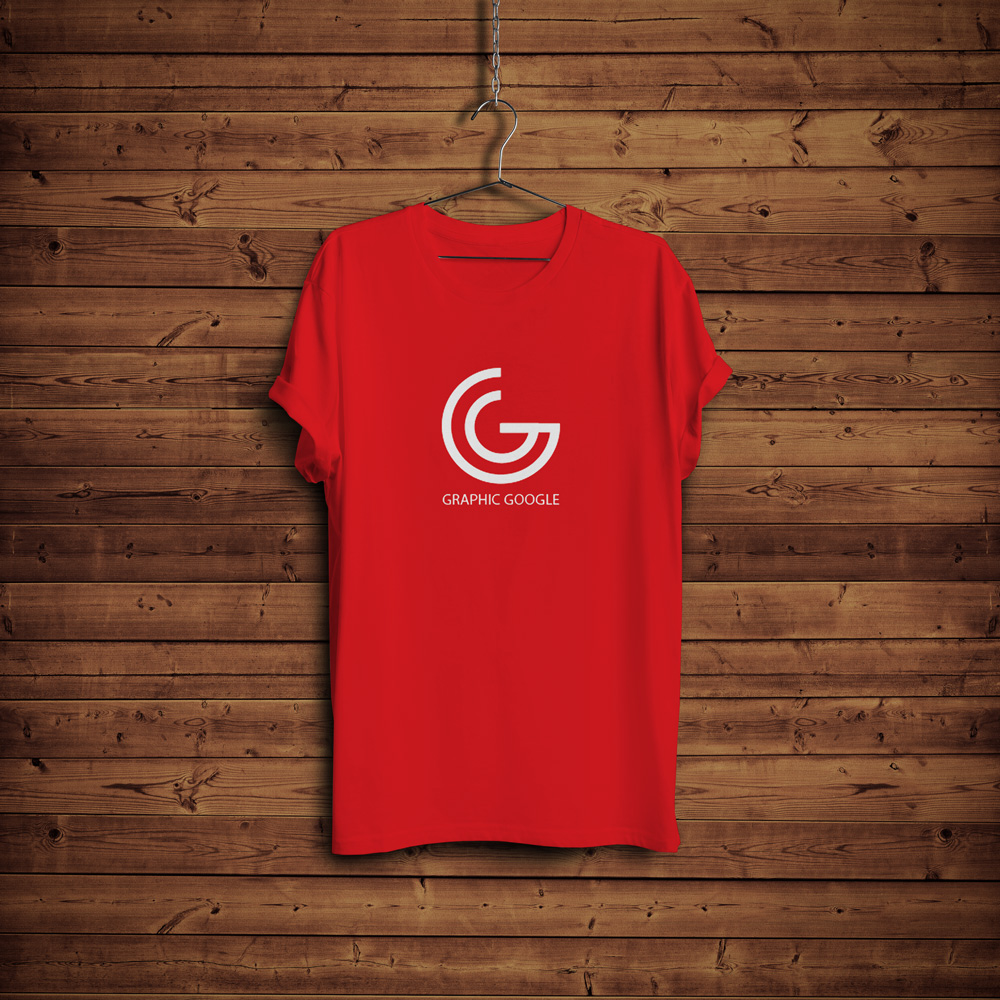
Shirt Mockup Background: The Ultimate Guide to Creating Professional-Looking Visuals
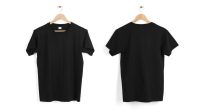
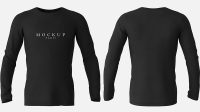
In the world of e-commerce and online marketing, visual content is king. When it comes to showcasing your custom shirt designs, shirt mockups are an essential tool for creating professional-looking, realistic images that grab attention and drive sales. By superimposing your design onto a high-quality photo of a model wearing a blank shirt, you can give customers a clear idea of what your shirt will look like when they wear it.
However, choosing the right shirt mockup background is not as simple as picking any photo you find online. The background should complement your design, enhance its visual appeal, and align with your overall brand aesthetic. In this comprehensive guide, we will delve into the various aspects of shirt mockup backgrounds, providing you with the knowledge and techniques to select and utilize them effectively.
Choosing the Right Background for Your Shirt Mockup
The background of your shirt mockup plays a crucial role in the overall impact of your design. When selecting a background, consider the following factors:
1. Color and Contrast:
The background color should complement your shirt design without overpowering it. For light-colored shirts, choose a dark background to create contrast and make the design stand out. Conversely, for dark-colored shirts, a light background can help brighten the design and make it more visible.
2. Texture and Patterns:
The texture and patterns of the background can add depth and interest to your mockup. Choose a background that complements the style of your shirt design. For example, a grunge texture can enhance the edgy look of a rock band t-shirt, while a floral pattern can add a touch of femininity to a summery sundress.
3. Lighting and Shadows:
The lighting and shadows in the background can create a sense of realism and dimension. Choose a background with lighting that highlights the features of your shirt design and creates a natural-looking shadow effect.
4. Subject and Composition:
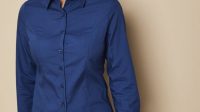
The subject and composition of the background can draw attention to specific elements of your shirt design. For example, a close-up shot of a model wearing the shirt can emphasize the intricate details of the design, while a wider shot can showcase the overall look and fit.
5. Brand Alignment:
The background should align with your brand aesthetic and message. If your brand is associated with luxury and sophistication, choose a background that reflects those qualities. Alternatively, if your brand is more casual and playful, a fun and vibrant background might be a better fit.
Types of Shirt Mockup Backgrounds
There are two main types of shirt mockup backgrounds:
1. Studio Backgrounds:
Studio backgrounds are typically taken in a controlled environment with professional lighting and a neutral backdrop. They provide a clean and professional look that is suitable for a wide range of shirt designs. Studio backgrounds come in various colors and textures, allowing you to find the perfect match for your project.
2. Natural Backgrounds:
Natural backgrounds are taken in outdoor settings, such as parks, beaches, or urban environments. They offer a more realistic and authentic look, which can help you showcase your shirt design in a relatable context. Natural backgrounds can vary greatly in terms of lighting, subject matter, and composition, allowing you to create a wide range of unique and eye-catching mockups.
Creating a Custom Shirt Mockup Background
If you can’t find a pre-made shirt mockup background that meets your needs, you can create your own. Here’s how:
1. Find a Model:
Find a model who represents your target audience and aligns with your brand image. The model should have a体型 that is similar to your target customer.
2. Choose a Location:
Select a location that complements your shirt design and brand aesthetic. Consider the lighting, background elements, and overall composition.
3. Take the Photo:
Use a high-quality camera and lens to capture a well-lit, in-focus photo of the model wearing a blank shirt. Ensure that the shirt fits the model properly and that there are no wrinkles or creases.
4. Edit the Photo:
Use a photo editing software to remove any unwanted elements from the photo, such as people, objects, or background clutter. You can also adjust the lighting, color, and contrast to enhance the overall look of the background.
Using Shirt Mockup Backgrounds Effectively
Once you have selected or created a shirt mockup background, follow these tips for using it effectively:
1. Position Your Design:
Carefully position your shirt design onto the background. Consider the model’s pose, the lighting, and the overall composition. Ensure that your design is centered and visible, and that it does not overlap with any distracting elements in the background.
2. Adjust the Size and Scale:
Adjust the size and scale of your design so that it fits the proportions of the shirt and the model’s body. The design should not be too large or too small, it should look like it is actually printed on the shirt.
3. Add Shadows and Reflections:
Adding subtle shadows and reflections to your design can enhance its realism. This can be done using a photo editing software or by using a specialized mockup generator.
4. Use High-Quality Images:
Always use high-quality images for both your shirt design and the background. Poor-quality images can pixelate or appear blurry, detracting from the overall impact of your mockup.
5. Consider the Target Audience:
Keep your target audience in mind when creating your shirt mockup. The background, model, and overall style of the mockup should appeal to your target customers.
Frequently Asked Questions (FAQs)
Q1. What is the recommended resolution for a shirt mockup background?
A: The recommended resolution for a shirt mockup background is at least 300 pixels per inch (ppi). This will ensure that your mockup is sharp and clear, even when viewed at close range.
Q2. What are the best file formats for shirt mockup backgrounds?
A: The best file formats for shirt mockup backgrounds are JPG, PNG, and PSD. JPG is a compressed format that is suitable for sharing and uploading online. PNG supports transparency, allowing you to create mockups with complex backgrounds. PSD is a layered format that provides you with more flexibility for editing and customizing your mockups.
Q3. How can I make my shirt mockup background stand out?
A: You can make your shirt mockup background stand out by using creative lighting, textures, and patterns. Experiment with different backgrounds and see which ones complement your shirt design the best. You can also add depth and interest by using multiple layers of backgrounds.
Q4. Can I use my own photos as shirt mockup backgrounds?
A: Yes, you can use your own photos as shirt mockup backgrounds. However, ensure that the photos are high-quality and that they align with your brand aesthetic. You may need to edit the photos to remove any unwanted elements or to adjust the lighting and contrast.
Q5. Where can I find free shirt mockup backgrounds?
A: There are many websites where you can find free shirt mockup backgrounds. Some popular websites include Pexels, Unsplash, and Freepik. These websites offer a wide variety of high-quality background images that you can use for your shirt mockups.
Conclusion
Shirt mockup backgrounds play a vital role in creating professional-looking, eye-catching visuals for your custom shirt designs. By understanding the different aspects of shirt mockup backgrounds, choosing the right one, and using it effectively, you can elevate your shirt designs and make them stand out from the competition. Remember to align the background with your brand aesthetic, consider the target audience, and use high-quality images to create mockups that are both realistic and visually appealing.

