
T-Shirt Mock Up Photoshop: A Comprehensive Guide
Introduction
T-shirt mock-ups are an indispensable tool for designers, allowing them to showcase their designs on realistic-looking garments. With the help of Photoshop, designers can effortlessly create professional-grade mock-ups that elevate their presentations and enhance their clients’ visualization of the final product. This comprehensive guide will delve into the intricacies of T-shirt mock-up creation using Photoshop, empowering both novice and experienced designers alike.
Prerequisites:
- Adobe Photoshop software
- Access to high-resolution T-shirt templates
- Knowledge of basic Photoshop tools and techniques
Step-by-Step Tutorial:
1. Choosing the Right Template:
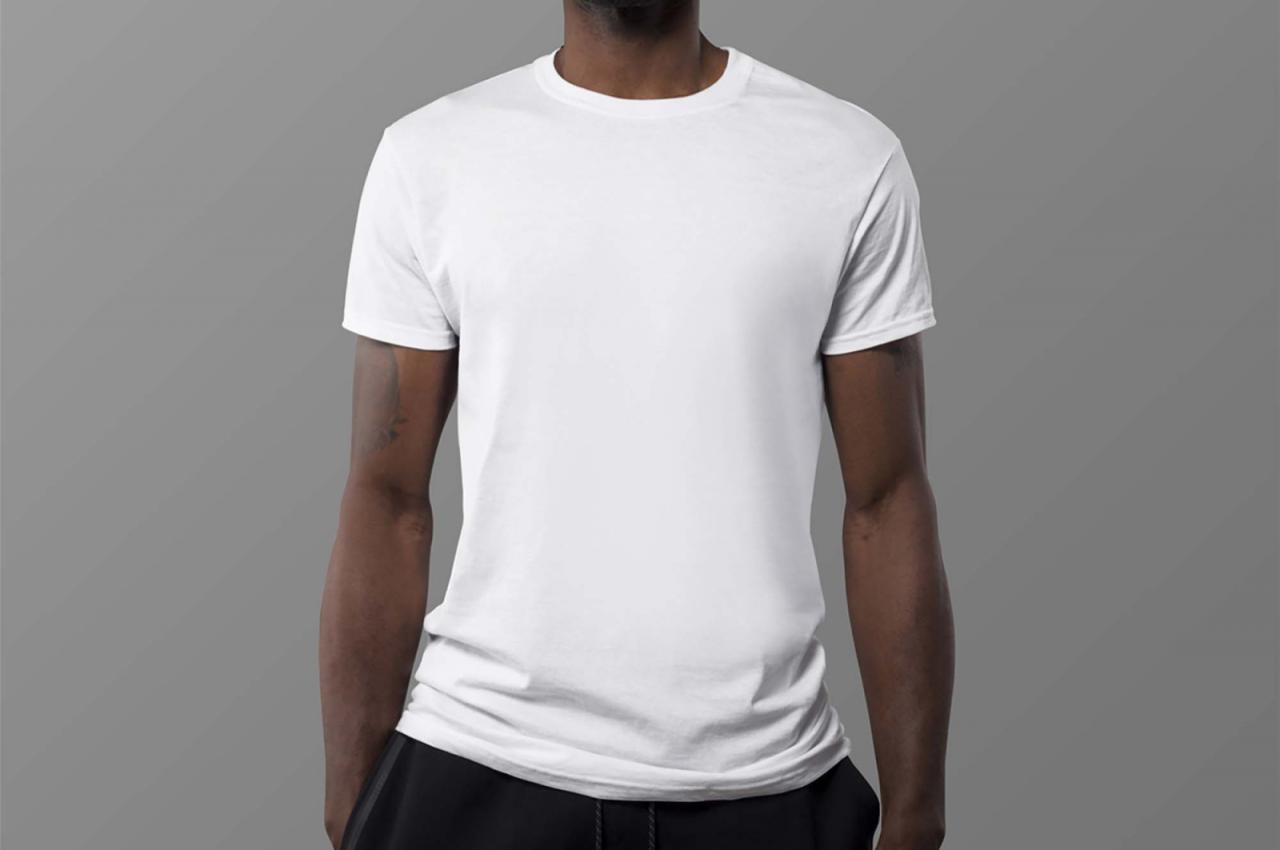
The foundation of a compelling mock-up lies in selecting a high-quality T-shirt template. Opt for templates that offer various perspectives, such as front, back, and side views, to provide a comprehensive overview of your design. Consider the neckline, sleeve length, and T-shirt style that best complements your design.
2. Importing the T-Shirt Template:
Once you have selected the desired template, import it into Photoshop by navigating to "File" > "Open" and locating the template file on your computer. Drag and drop the template onto your workspace or use the "Place" command (Ctrl/Cmd + Shift + P).
3. Creating the Smart Object:
Smart objects are essential for preserving the original T-shirt template and allowing for non-destructive editing. Right-click on the template layer in the Layers panel and select "Convert to Smart Object." This action will create a separate layer group that contains the template.
4. Editing the Design:
With the smart object created, you can now edit your design directly on the T-shirt. Double-click on the smart object thumbnail in the Layers panel to open the embedded document. Make any necessary adjustments to your design, such as resizing, repositioning, or adding effects.
5. Placing Your Design on the T-Shirt:
After finalizing your design, return to the original Photoshop document. Within the smart object, select your design layer and copy it (Ctrl/Cmd + C). Switch back to the original document and paste your design onto the T-shirt template layer (Ctrl/Cmd + V).
6. Adjusting the Design Fit:
To ensure a seamless fit, adjust the design’s position and size using the Free Transform tool (Ctrl/Cmd + T). Use the bounding box controls to rotate, scale, and skew the design until it fits perfectly on the T-shirt.
7. Adding Realistic Effects:
To enhance the realism of your mock-up, consider adding shadows, highlights, and wrinkles to the T-shirt. Use the Drop Shadow and Inner Shadow layer effects to create depth and dimension. Adjust the blending mode of the design layer to "Multiply" to blend it seamlessly with the T-shirt fabric.
8. Background and Environment:
Complete your mock-up by adding a suitable background or environment. This could be a solid color, a textured surface, or even a scenic image. Use the "Create a New Layer" button to add a new layer below the T-shirt layer. Fill this layer with your desired background color or place your chosen image.
Advanced Techniques:
1. Using Clipping Masks:
Clipping masks allow you to confine your design within the boundaries of the T-shirt shape. Create a new layer above the design layer and fill it with a solid color. Select both the color layer and the design layer, then right-click and select "Create Clipping Mask."
2. Creating Custom Folds and Wrinkles:
To add more realistic details, you can create custom folds and wrinkles using the Warp tool (Edit > Transform > Warp). Select the T-shirt template layer, activate the Warp tool, and drag the control points to manipulate the fabric’s shape.
3. Applying Textures:
Adding textures to the T-shirt fabric can further enhance its realism. Import a high-resolution fabric texture into Photoshop and place it above the T-shirt layer. Set the texture layer’s blending mode to "Overlay" or "Soft Light" to blend it with the fabric below.
4. Modifying Sleeve Lengths and Necklines:
With some advanced skills, you can modify the sleeve lengths and necklines of the T-shirt template. Use the Pen Tool to create a new path along the desired neckline or sleeve edge. Right-click on the path and select "Make Selection." Use the "Refine Edge" tool to adjust the selection and create a smooth transition.
Conclusion:
Mastering T-shirt mock-up creation in Photoshop empowers designers to present their designs professionally and entice clients. By following the steps outlined in this comprehensive guide, you can create realistic and eye-catching mock-ups that showcase your designs in the best possible light. Whether you’re a seasoned designer or just starting out, incorporating T-shirt mock-ups into your workflow will elevate your presentations and enhance your creativity.
FAQ:
1. What is the best resolution for a T-shirt template?
High-resolution templates are recommended for creating sharp and detailed mock-ups. Aim for templates with a resolution of at least 300 dpi (dots per inch) to ensure crisp and professional-looking results.
2. Can I use any image editing software for T-shirt mock-ups?
While there are various image editing software options available, Adobe Photoshop remains the industry standard for mock-up creation. Its comprehensive toolset, powerful features, and vast template library make it the optimal choice for creating professional-grade mock-ups.
3. How do I find high-quality T-shirt templates?
Numerous online resources offer access to high-quality T-shirt templates. Consider reputable marketplaces like Envato Elements, Creative Market, or TemplateMonster, which provide a wide selection of templates in various styles, perspectives, and resolutions.
4. Can I create my own T-shirt templates?
Creating your own T-shirt templates requires advanced knowledge of Photoshop and 3D modeling techniques. While it’s possible, it’s generally recommended to use pre-made templates to save time and ensure accuracy.
5. How can I add realistic shadows and wrinkles to my mock-ups?
To add realistic shadows and wrinkles, utilize the Drop Shadow and Inner Shadow layer effects. Adjust the settings to create subtle shadows that mimic the way light interacts with the fabric. Additionally, use the Warp tool to create custom folds and wrinkles, enhancing the realism of your mock-up.
By embracing these tips and techniques, you can elevate your T-shirt mock-up skills and produce stunning presentations that leave a lasting impression.


