


Mastering the Art of T-Shirt Mockups: A Comprehensive Guide to Front, Back, and Side Views
In the realm of graphic design and apparel merchandising, T-shirt mockups hold immense significance. They serve as invaluable tools for showcasing custom designs and providing a realistic representation of how the final product will appear on a human form. By creating high-quality T-shirt mockups, designers and businesses can effectively convey their ideas, generate excitement, and make informed decisions before investing in production.
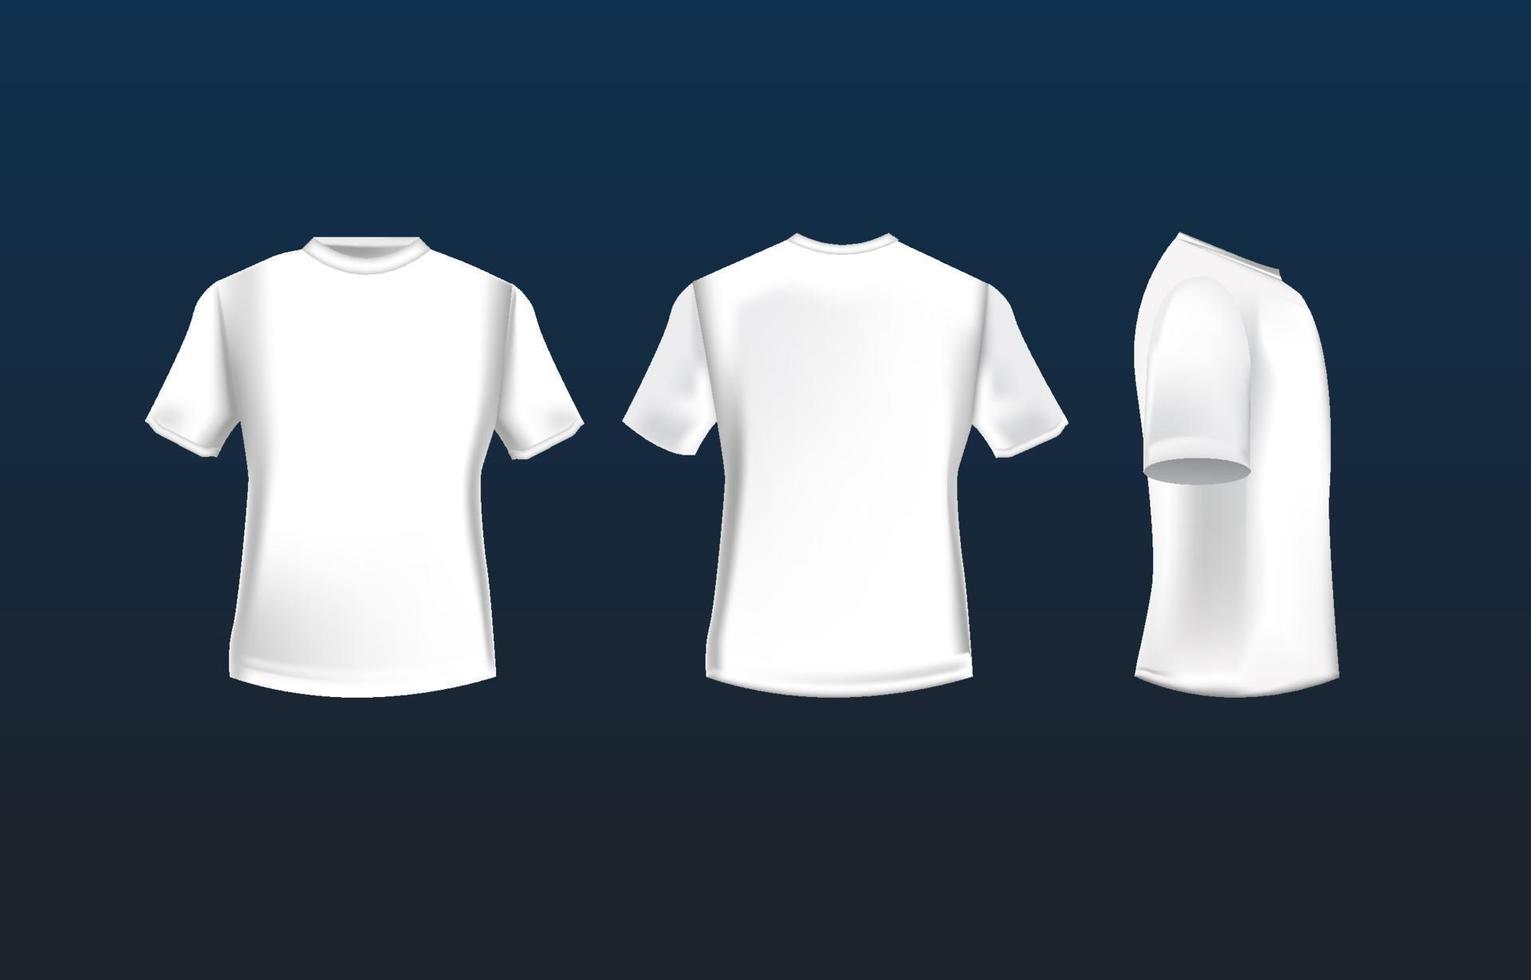
This comprehensive guide delves into the intricate world of T-shirt mockups, exploring the techniques, benefits, and best practices for creating stunning front, back, and side views. Whether you’re a seasoned graphic designer or just starting your journey in apparel design, this article will equip you with the knowledge and skills to elevate your T-shirt mockup game.
Front View Mockups: A Focal Point for Design Display
Front view mockups take center stage in showcasing the primary design elements of a T-shirt. They provide a clear and direct view of the artwork, typography, or branding that will adorn the chest area. Here’s a step-by-step breakdown of creating an impactful front view mockup:
-
Choose a High-Quality Base Image: Select a high-resolution image of a plain T-shirt in the desired color and style. Ensure that the image is well-lit and wrinkle-free to present the design at its best.
-
Import the Design: Import your T-shirt design into the image editing software of your choice. Adjust the size and positioning of the design to fit the front of the T-shirt.
-
Refine the Shadows and Lighting: Use layer masks and blending modes to blend the design seamlessly with the T-shirt fabric. Pay attention to the shadows and lighting to create a realistic effect.
-
Add Texture and Depth: Experiment with adding subtle textures or patterns to the design layer to give the mockup a more realistic and textured look.
-
Export in Various Formats: Export the final mockup in high-resolution formats like PNG or JPEG to cater to different usage scenarios.
Back View Mockups: Extending the Narrative
Back view mockups offer a valuable opportunity to showcase additional design elements or provide context to the front design. They can feature slogans, logos, patterns, or graphics that complement the overall concept. Here’s how to create an effective back view mockup:
-
Choose an Appropriate Base Image: Select a high-resolution image of a plain T-shirt in the desired color and style, ensuring that the back view is clearly visible.
-
Import the Design: Import your T-shirt design into the image editing software. Adjust the size and positioning of the design to fit the back of the T-shirt.
-
Maintain Cohesion: Ensure that the back design complements the front design in terms of style, color palette, and overall aesthetic.
-
Consider the Spine: If the design extends to the spine of the T-shirt, pay careful attention to the alignment and proportions to maintain a polished look.
-
Export for Versatility: Export the final mockup in various formats, including high-resolution PNGs with transparent backgrounds, to allow for easy integration into marketing materials.
Side View Mockups: Capturing the Silhouette
Side view mockups provide a unique perspective, showcasing the overall silhouette and fit of the T-shirt. They’re particularly useful for highlighting design elements that are not visible in the front or back views. Follow these steps to create an eye-catching side view mockup:
-
Select a Dynamic Base Image: Choose a high-resolution image of a model or mannequin wearing a plain T-shirt in the desired color and style. Ensure that the side view is clearly visible.
-
Position the Design: Import your T-shirt design into the image editing software and position it on the side of the T-shirt. Adjust the size and orientation to fit the contours of the garment.
-
Blend and Refine: Use blending modes and layer masks to seamlessly integrate the design with the T-shirt fabric, paying attention to the shadows and highlights.
-
Create a Realistic Drape: Utilize warping tools or plugins to create a realistic drape effect that mimics the natural fall of the fabric.
-
Export for Visual Impact: Export the final mockup in high-resolution formats, considering both PNG and JPEG options for optimal visual impact.
Benefits of Using T-Shirt Mockups
The benefits of utilizing T-shirt mockups extend far beyond showcasing designs. Here are some key advantages:
-
Time-Saving and Cost-Effective: Mockups eliminate the need for expensive photo shoots and models, saving time and resources.
-
Design Validation: Mockups allow designers to preview and refine their designs before production, reducing the risk of errors and ensuring a high-quality final product.
-
Marketing and Promotion: Mockups are essential for creating eye-catching marketing materials, social media posts, and e-commerce listings.
-
Customer Engagement: Realistic mockups help customers visualize how the T-shirt will look and fit, increasing engagement and purchase intent.
-
Design Collaboration: Mockups facilitate seamless collaboration between designers, clients, and manufacturers, ensuring a shared understanding of the final product.
Best Practices for Creating Professional T-Shirt Mockups
To elevate the quality and professionalism of your T-shirt mockups, follow these best practices:
-
Utilize High-Resolution Images: The foundation of a great mockup lies in high-resolution base images and design files. Ensure that all images are sharp, clear, and free of noise or artifacts.
-
Pay Attention to Lighting and Shadows: Natural lighting can significantly enhance the realism of your mockups. Position the T-shirt in a well-lit environment and use layer masks to create realistic shadows and highlights.
-
Consider Fabric Texture: Incorporating subtle fabric textures into your mockups adds depth and authenticity. Experiment with overlaying textures or using blend modes to achieve the desired effect.
-
Maintain Proportions: Ensure that the design elements are scaled and positioned correctly in relation to the size of the T-shirt. Improper proportions can compromise the overall aesthetic of the mockup.
-
Export in Multiple Formats: Export your mockups in various file formats, including PNGs with transparent backgrounds and JPEGs with optimized image quality. This versatility enables easy integration into different platforms and applications.
Frequently Asked Questions (FAQs)
Q: What software is best suited for creating T-shirt mockups?
A: Adobe Photoshop, Illustrator, and Canva are popular choices for creating professional T-shirt mockups. Each software offers its unique set of features and tools to cater to different skill levels and requirements.
Q: Where can I find high-quality base images for mockups?
A: Numerous websites and resources provide free and premium T-shirt base images. Some popular options include Placeit, MockupWorld, and Freepik.
Q: How can I add realistic wrinkles and folds to my mockups?
A: Utilize distortion tools, warping filters, or specialized plugins to create realistic wrinkles and folds. Experiment with different settings and blend modes to achieve the desired effect.
Q: What file formats should I use for exporting T-shirt mockups?
A: For transparent backgrounds, PNG files are recommended. JPEG files offer smaller file sizes but do not support transparency. Additionally, consider using PSD files if you need to make further


