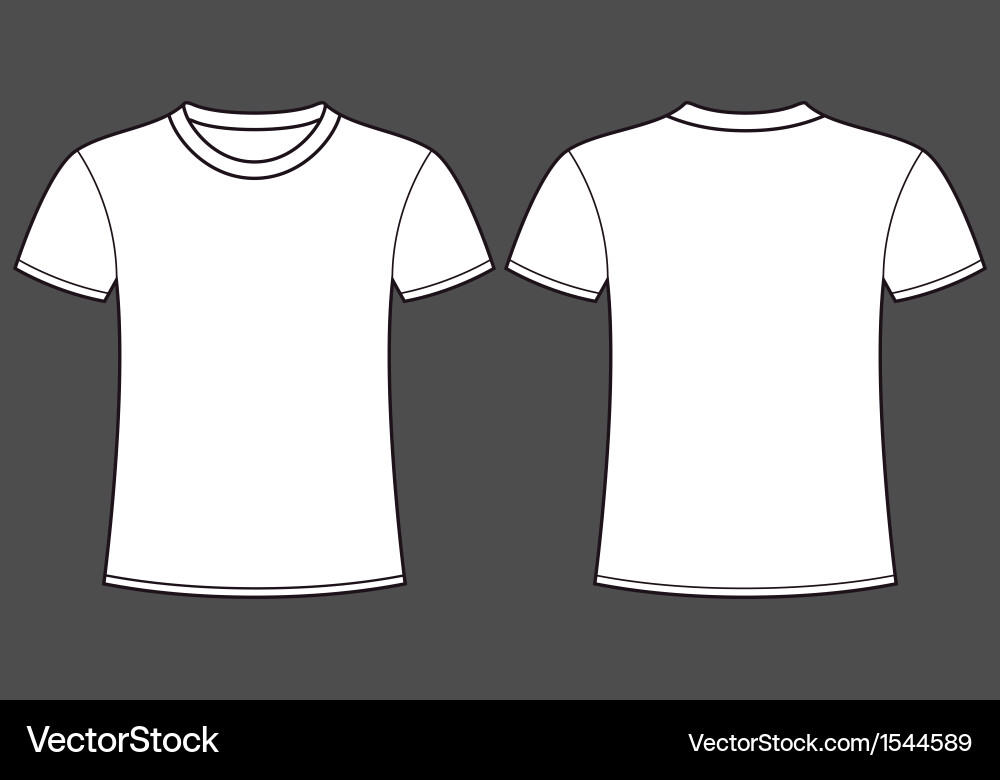
The Ultimate Guide to T-Shirt Template Front and Back: Design, Printing, and Customization
T-shirts have become an essential part of our wardrobe, transcending their functional purpose to become a canvas for personal expression, brand promotion, and artistic endeavors. Whether you’re a seasoned designer or a creative enthusiast, mastering the art of T-shirt design requires a solid understanding of T-shirt template front and back.
This comprehensive guide will delve deep into the world of T-shirt templates, providing you with a step-by-step process to create visually striking designs that effectively convey your message or showcase your creativity. From choosing the right template to utilizing advanced design techniques, you’ll gain invaluable insights to elevate your T-shirt designs to the next level.
Understanding T-Shirt Template Front and Back
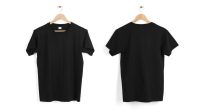
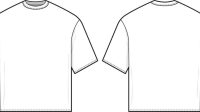
A T-shirt template front and back serves as the foundation for your design, defining the printable area and providing a framework for your creative vision. These templates typically come in various formats, including PSD (Photoshop Document), AI (Adobe Illustrator), and EPS (Encapsulated PostScript), allowing compatibility with popular design software.
When selecting a T-shirt template front and back, consider the following factors:
-
Size and Fit: Choose a template that matches the intended size and fit of your final product. This ensures the design proportions are accurate and visually appealing when printed.
-
Print Area: Pay attention to the designated printable area within the template. This will guide your design placement to avoid important elements being cut off during production.
-
Front and Back Design: Determine if you require a one-sided or two-sided design. Some templates offer separate front and back sections, while others provide a single canvas for both sides.
-
Template Resolution: Ensure the template has a high resolution (300 DPI or more) to maintain image quality during printing. A low-resolution template can result in blurry or pixelated designs.
Design Principles for Front and Back T-Shirts
-
Establish a Focal Point: Choose a central element or message to draw attention to. This could be a striking image, bold typography, or a combination of both. Place this focal point prominently on either the front or back of the T-shirt.
-
Create Visual Hierarchy: Use font size, color, and placement to establish a clear visual hierarchy. The most important elements should dominate, while secondary information can be presented in a supportive role.
-
Balance and Symmetry: Distribute design elements evenly across the T-shirt to achieve visual balance. Consider using symmetry for a classic and harmonious look or asymmetry for a more dynamic effect.
-
Whitespace is Your Friend: Don’t overcrowd the design with too many elements. Use whitespace effectively to create a sense of space and enhance the impact of your focal point.
-
Consider the Target Audience: Tailor your design to the specific audience you’re targeting. Consider their interests, preferences, and the overall message you want to convey.
Advanced Design Techniques for T-Shirts
-
Gradients and Overlays: Add depth and visual interest to your designs by incorporating gradients, which transition smoothly between colors, or overlays, which layer multiple elements to create a composite effect.
-
Textures and Patterns: Introduce texture or patterns into your design to add a tactile element or create visual intrigue. Explore various textures, from grunge and vintage to floral and abstract.
-
Typography as Art: Treat typography as an expressive element in your design. Experiment with different fonts, sizes, and styles to create visually appealing and meaningful messages.
-
Vector Graphics: Utilize vector graphics for sharp, scalable images that maintain their quality regardless of the size. This is particularly useful for logos, illustrations, and geometric designs.
-
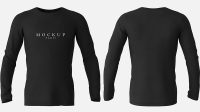
Mockups for Realistic Previews: Enhance your design process by using mockups to visualize how your design will look on an actual T-shirt. This helps identify potential issues and ensures a professional presentation.
Printing Options for T-Shirts
Once your design is complete, it’s time to choose the printing method that best suits your needs. Here are the most common options:
-
Screen Printing: A traditional method that uses stencils to transfer ink onto the fabric, resulting in vibrant, opaque prints. Ideal for large orders and complex designs with multiple colors.
-
Direct-to-Garment Printing (DTG): A digital printing method that uses inkjet technology to print directly onto the fabric, offering full-color capabilities and detailed prints. Suitable for small orders and designs with intricate details.
-
Sublimation Printing: A specialized technique that infuses ink into the fabric, creating a permanent and vibrant print. Excellent for designs that require photographic quality or seamless color transitions.
-
Heat Transfer Printing: A process that transfers pre-printed designs onto the fabric using heat and pressure. Offers a cost-effective option for small orders or simple designs.
Customization Options for T-Shirts
In addition to design and printing techniques, there are various customization options available to personalize your T-shirts:
-
Fabric Choice: Select from a range of fabric options, such as cotton, polyester, or a blend, to cater to different textures, comfort levels, and printing requirements.
-
Color Options: Choose from a wide color palette to find the perfect match for your design. You can opt for solid colors, heather shades, or even tie-dye effects.
-
Neckline Styles: Experiment with different neckline styles, from classic crew necks and V-necks to trendy scoop necks and boat necks, to complement your design and personal style.
-
Sleeve Lengths: Choose between short sleeves, long sleeves, or even sleeveless options to suit the season and your desired look.
-
Special Effects: Add an extra touch to your T-shirts with special effects like glitter, foil, or flocking to create a unique and eye-catching finish.
Frequently Asked Questions (FAQ)
Q1: What is the standard size for a T-shirt template front and back?
A1: Standard T-shirt template sizes vary depending on the manufacturer and intended use. However, common sizes include 14" x 17" (35.56 cm x 43.18 cm) for youth sizes and 18" x 25" (45.72 cm x 63.5 cm) for adult sizes.
Q2: Can I use the same template for both light and dark-colored T-shirts?
A2: No, it’s recommended to use different templates for light and dark-colored T-shirts, as the printing process and ink requirements vary. Templates for dark-colored T-shirts typically include a white underbase to ensure vibrant colors.
Q3: What is the best file format for submitting T-shirt designs for printing?
A3: The ideal file format for T-shirt design submission is a high-resolution (300 DPI or more) transparent PNG or PDF file. This ensures the design maintains its quality and allows for precise printing.
Q4: Can I print full-color images on T-shirts?
A4: Yes, it’s possible to print full-color images on T-shirts using printing methods like DTG or sublimation printing. However, the complexity and color accuracy of the image may vary depending on the printing technique and the fabric used.
Q5: How do I create a T-shirt design that stands out?
A5: To create a standout T-shirt design, focus on establishing a clear focal point, utilizing visual hierarchy, and balancing elements effectively. Experiment with advanced design techniques like gradients, typography, and textures to add depth and interest. Consider the target audience and tailor your design to their preferences.

