
T-Shirt Template Photoshop Front and Back: A Comprehensive Guide for Designers
Introduction
Creating custom t-shirt designs has become increasingly popular, with designers and creatives seeking unique ways to express their ideas and visions. Photoshop, the industry-standard software for image editing and graphic design, offers a powerful suite of tools that enables users to create high-quality t-shirt designs with ease. In this comprehensive guide, we will explore the process of creating a t-shirt template in Photoshop, covering both the front and back views. We will provide step-by-step instructions, along with helpful tips and tricks to achieve professional-looking results.
Understanding T-Shirt Templates
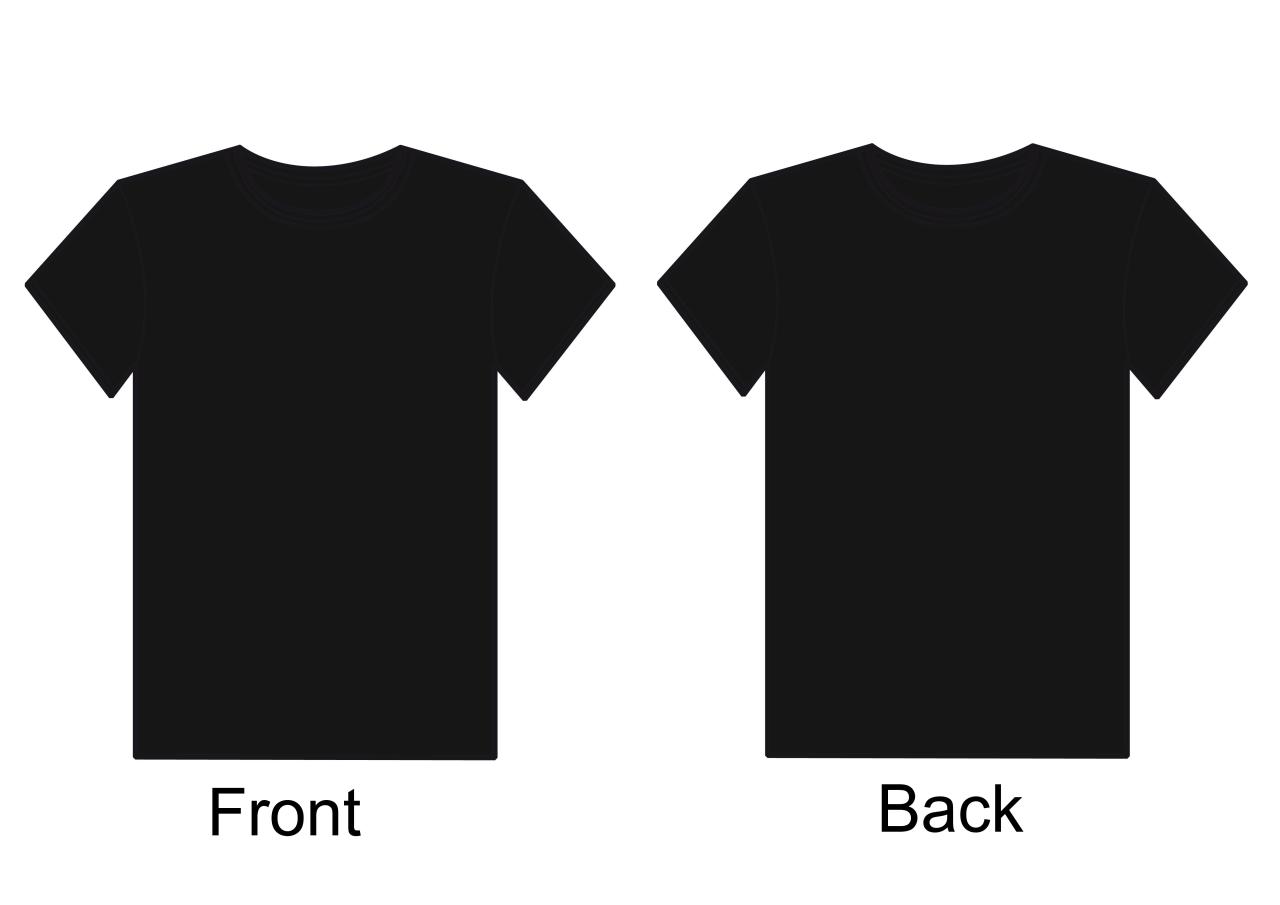
A t-shirt template is a digital file that serves as a base for creating custom t-shirt designs. It typically consists of a front and back view of a t-shirt, allowing designers to visualize how their designs will appear on the actual garment. By using a template, designers can ensure that their designs are correctly positioned and sized, avoiding any potential issues during printing.
Creating a New T-Shirt Template in Photoshop
Step 1: Create a New Document
- Launch Adobe Photoshop and create a new document.
- Set the document dimensions to the desired size of your t-shirt design, considering both the front and back views.
- For a standard t-shirt, the recommended dimensions are 12 inches wide by 18 inches high.
Step 2: Define the Front and Back Views
- Divide the document into two equal halves vertically.
- Create a new layer for each half, naming one "Front" and the other "Back."
Step 3: Create the T-Shirt Shape
- On each layer, use the Ellipse Tool to draw a circle that represents the neck opening of the t-shirt.
- Duplicate the circle and move it down to create the body of the t-shirt.
- Use the Rectangle Tool to draw two lines that extend from the neck opening to the bottom of the body, creating the sleeves.
Step 4: Adjust the T-Shirt Shape
- Select all the t-shirt shape layers and transform them to the desired size and shape.
- Use the Warp Tool to curve the sleeves and add depth to the design.
Step 5: Add Details and Realism
- Create new layers for details such as the neckline, sleeve cuffs, and hem.
- Use a brush tool with a soft edge to create subtle shadows and highlights, giving the t-shirt a more realistic appearance.
Importing and Placing Your Design
Step 6: Import Your Design
- Once you have created the t-shirt template, you can import your design into Photoshop.
- Open your design file in Photoshop and copy it onto the clipboard.
Step 7: Position and Size the Design
- Create a new layer for your design on either the "Front" or "Back" layer.
- Paste your design onto the layer and position it as desired.
- Use the Transform Tool to resize and rotate the design to fit within the template.
Step 8: Apply Effects and Adjustments
- Depending on the nature of your design, you may want to apply effects or adjustments to enhance its appearance.
- Explore tools such as Layer Styles, Adjustments, and Filters to add depth, color correction, and other effects.
Saving and Exporting Your Template
Step 9: Save Your Template
- Once your design is complete, save the Photoshop file as a PSD document.
- This format preserves all the layers and allows for future editing.
Step 10: Export for Printing
- For printing purposes, export your template as a high-resolution image file.
- Choose a file format such as JPEG, PNG, or TIFF that is compatible with your printer.
- Ensure the resolution is set to 300 dpi or higher for optimal print quality.
Tips for Creating Professional-Looking T-Shirt Templates
- Use high-quality images: Low-resolution images can appear pixelated and blurry when printed.
- Consider the print size: Make sure your design is sized appropriately for the intended print area.
- Use appropriate fonts: Choose fonts that are legible and complement the design.
- Experiment with colors: Use colors that are vibrant and visually appealing.
- Optimize for print: Adjust the brightness and contrast of your design to ensure optimal printing results.
Frequently Asked Questions (FAQs)
Q: What is the best resolution for a t-shirt template?
A: The recommended resolution for a t-shirt template is 300 dpi or higher for sharp and professional-looking prints.
Q: Can I use Photoshop to create both front and back t-shirt designs?
A: Yes, Photoshop allows you to create both front and back views of a t-shirt template within a single document.
Q: What file format should I use to save my t-shirt template?
A: For future editing and flexibility, save your template as a PSD file. For printing, export as JPEG, PNG, or TIFF with a high resolution.
Q: How can I ensure my design will be correctly positioned on the t-shirt?
A: Use a t-shirt template that accurately represents the size and shape of the actual garment. Position your design carefully within the template to avoid misalignment.
Q: Where can I find free t-shirt templates?
A: There are numerous websites and online resources that offer free and premium t-shirt templates in various styles and sizes.
Conclusion
Creating t-shirt templates in Photoshop is a multifaceted process that requires attention to detail and a keen eye for design. By following the steps outlined in this guide, you can create high-quality templates that serve as a foundation for your custom t-shirt designs. Whether you are a seasoned professional or a beginner venturing into the world of t-shirt design, these techniques will empower you to produce visually stunning and impactful results.


