
Tissue Paper Mockup: A Comprehensive Guide to Enhance Your Packaging Presentation
Tissue paper, an indispensable packaging material, adds an elegant touch to products, enhancing their overall appeal. To effectively showcase the transformative power of tissue paper in packaging, a tissue paper mockup serves as an invaluable tool. This detailed guide will delve into the nuances of tissue paper mockups, empowering you to elevate your packaging designs and captivate your target audience.
Understanding Tissue Paper Mockups
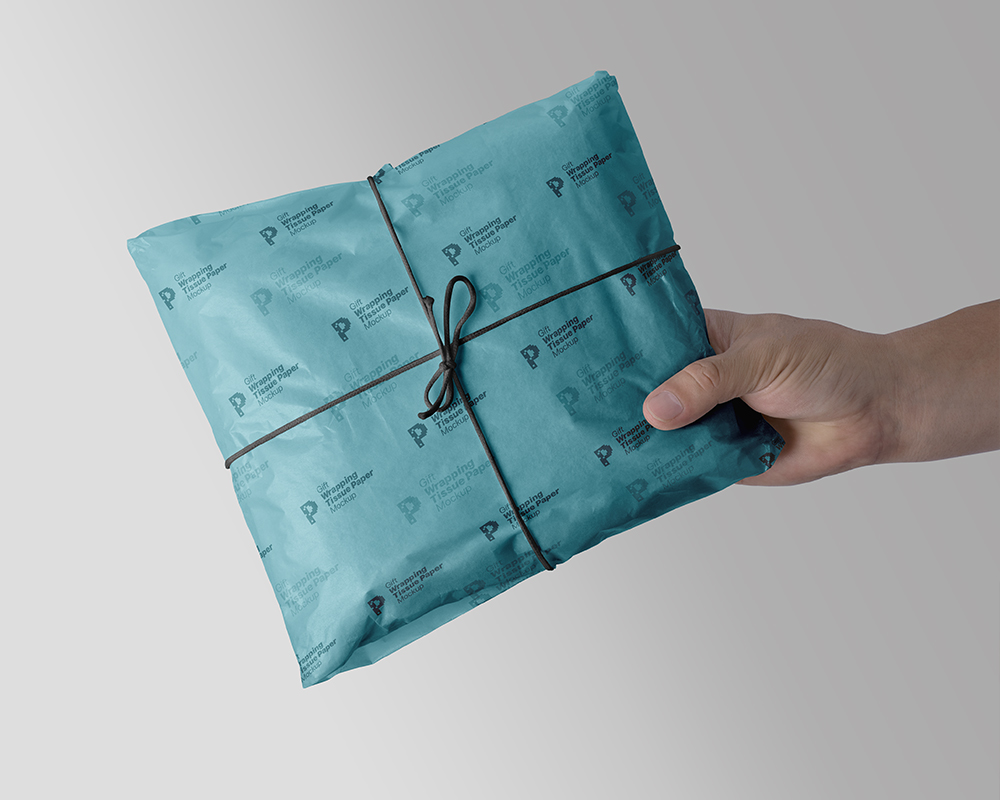
A tissue paper mockup is a digital representation of a tissue paper placed within a packaging design. It allows designers to visualize how the tissue paper will interact with the packaging and product, enabling them to make informed decisions about its color, texture, and overall impact. By leveraging tissue paper mockups, designers can:
-
Preview the final product: Visualizing the tissue paper in situ provides a realistic representation of the packaged product, allowing designers to assess its aesthetic appeal and functionality.
-
Experiment with different designs: Mockups empower designers to explore various tissue paper designs without committing to physical samples, saving time and resources.
-
Showcase packaging concepts: Tissue paper mockups can be incorporated into presentations and marketing materials to effectively convey packaging concepts to clients and stakeholders.
Essential Elements of a Tissue Paper Mockup
To create a compelling and realistic tissue paper mockup, several key elements must be considered:
-
Tissue paper texture: The mockup should accurately capture the texture of the tissue paper, whether it’s smooth, embossed, or textured.
-
Lighting: Proper lighting plays a crucial role in showcasing the tissue paper’s color and texture, ensuring a realistic representation of the final product.
-
Product placement: The product should be carefully positioned within the packaging, considering the tissue paper’s volume and drape.
-
Background: The background should complement the tissue paper and product, creating a cohesive and visually appealing presentation.
Creating a Tissue Paper Mockup in Photoshop
Adobe Photoshop, a widely used design software, provides robust capabilities for creating professional tissue paper mockups. Here’s a step-by-step guide:
-
Create a new document: Start by creating a new Photoshop document with the desired dimensions for your mockup.
-
Import the tissue paper texture: Import the high-resolution image of the tissue paper texture into Photoshop and place it on a new layer.
-
Adjust the tissue paper layer: Use the Transform tool (Ctrl + T) to resize, rotate, and position the tissue paper layer as desired.
-
Create a product layer: Import the image of the product and place it on a new layer beneath the tissue paper layer.
-
Add depth: Create a drop shadow on the tissue paper layer to add depth and realism to the mockup.
-
Adjust lighting: Experiment with the lighting settings to achieve the desired effect. Use Layer Styles to add highlights, shadows, and gradients.
-
Export the mockup: Once you’re satisfied with the mockup, export it in a high-resolution format such as PNG or JPEG.
Additional Tips for Creating Effective Mockups
-
Use high-quality images: Employ high-resolution images of both the tissue paper and product for a realistic representation.
-
Experiment with perspectives: Explore different camera angles and perspectives to create dynamic and engaging mockups.
-
Incorporate branding elements: Include logos, labels, or other branding elements to enhance the authenticity of the mockup.
-
Consider the intended use: Tailor the mockup to suit its intended purpose, whether it’s for presentation, marketing, or client approval.
FAQ
1. Why use a tissue paper mockup?
Tissue paper mockups enable designers to visualize the final packaged product, experiment with different designs, and showcase packaging concepts effectively.
2. What software can I use to create a tissue paper mockup?
Adobe Photoshop is a widely used design software that provides robust capabilities for creating professional tissue paper mockups.
3. How do I create a realistic tissue paper texture?
To create a realistic tissue paper texture, source a high-resolution image of the actual tissue paper and adjust its opacity and texture settings in Photoshop.
4. How can I add depth to my mockup?
Add depth to your mockup by applying a drop shadow to the tissue paper layer and experimenting with lighting techniques using Layer Styles.
5. What are the key elements to consider when creating a tissue paper mockup?
Essential elements include tissue paper texture, lighting, product placement, and background.
Conclusion
Tissue paper mockups are indispensable tools that empower designers to enhance the presentation of their packaging designs. By following the guidelines outlined in this guide, you can create realistic and compelling mockups that showcase the transformative power of tissue paper in packaging, ultimately captivating your target audience and elevating your brand’s image.


