
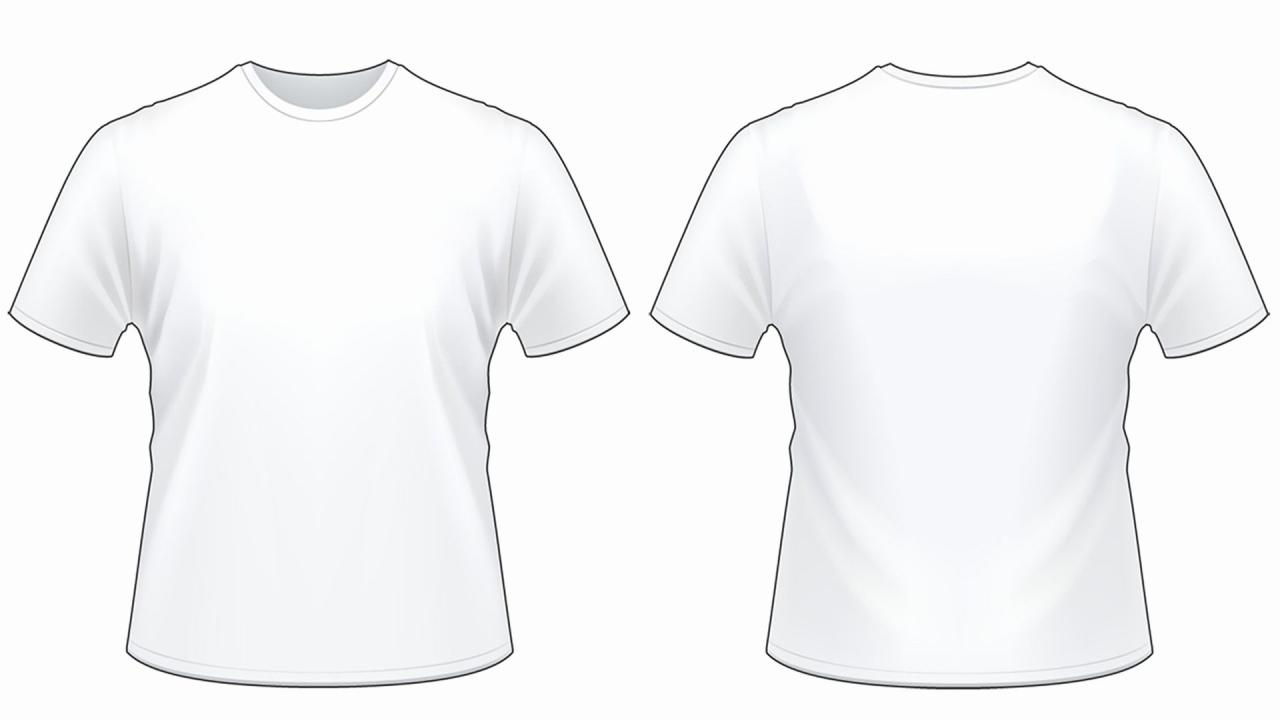
White Shirt Template Photoshop: A Comprehensive Guide
The white shirt is a wardrobe staple, a timeless piece that exudes both elegance and versatility. Its crisp, clean lines and neutral hue make it a perfect canvas for a wide range of designs, from simple and subtle to bold and eye-catching. Whether you’re a professional designer or an aspiring fashion enthusiast, mastering the art of creating white shirt templates in Photoshop can empower you to bring your unique designs to life.
This comprehensive guide will delve into the ins and outs of creating white shirt templates in Photoshop, providing step-by-step instructions, insider tips, and troubleshooting advice. With its user-friendly interface and powerful editing tools, Photoshop offers an unparalleled platform for designing and customizing white shirts.
Step 1: Set Up Your Photoshop Workspace
To get started, launch Photoshop and create a new document. Set the width and height according to the desired dimensions of your white shirt template. For a standard-sized shirt, a resolution of 300 dpi and a size of 2000 x 2500 pixels is recommended.
Choose a transparent background to allow for easy placement of your designs without worrying about unwanted backgrounds. Save this document as a PSD file, which will preserve the layers and allow for future editing.
Step 2: Draw the Shirt Shape
Using the Pen Tool (P), carefully draw the outline of the white shirt, starting from the collar and working your way down to the hem. Ensure that the line is smooth and follows the contours of the shirt. Close the path by connecting the end point to the starting point.
Step 3: Create the Collar
To create the collar, draw two overlapping circles using the Ellipse Tool (U). Hold down the Shift key to maintain a perfect circle shape. Position the circles as desired and merge them into a single shape using the Shape Builder Tool (Shift + M). Refine the shape by adjusting the anchor points and curves as necessary.
Step 4: Add Sleeves and Cuffs
For the sleeves, draw two curved lines extending from the shoulders. Use the Convert Anchor Point Tool (Shift + C) to convert the sharp corners into smooth curves. Draw another ellipse for the cuff and position it at the end of the sleeve. Repeat the process for the other sleeve.
Step 5: Refine the Shirt Details
Add details to the shirt, such as buttons, pockets, or pleats, using the Shape Tools or the Pen Tool. Experiment with different shapes and sizes to create a unique and personalized design.
Step 6: Apply Color and Texture
Once the shirt shape is complete, you can add color and texture to bring it to life. Create a new layer and fill it with the desired color using the Paint Bucket Tool (G). To add texture, create a new layer, fill it with a texture image, and set the blending mode to Overlay or Soft Light. Adjust the opacity and blend the texture as needed.
Step 7: Save and Export
Save the PSD file for future editing and export the template as a PNG file with a transparent background for easy use in design software or printing.
Tips for Creating Professional-Looking White Shirt Templates
- Use High-Quality Reference Images: Refer to real-life images of white shirts to ensure accuracy in shape and details.
- Pay Attention to Proportions: The proportions of the shirt should be balanced and realistic. Avoid making the sleeves too short or the collar too large.
- Experiment with Different Collar Styles: Explore various collar styles, such as spread collars, button-down collars, or mandarin collars, to create unique and stylish designs.
- Add Realistic Buttons and Pockets: Use the Shape Tools or the Pen Tool to create realistic buttons and pockets that enhance the overall look of the shirt.
- Consider the Final Fabric: The texture and thickness of the fabric you intend to use for your shirt should be considered when creating the template. Adjust the thickness of the lines and the softness of the curves accordingly.
Troubleshooting Common Issues
- Jagged Edges: Ensure that you are using high-resolution images and that the edges of your shapes are smooth. Use the Pen Tool’s curvature handles to adjust the smoothness of the lines.
- Uneven Color Filling: Make sure that the color fill layer is directly above the shirt shape layer. If it is not, the color may spill outside the shirt outline.
- Blurry Textures: Use high-resolution texture images and adjust the opacity of the texture layer to avoid blurring.
- Distorted Proportions: If the shirt appears distorted after adding color or texture, double-check the proportions of your original shirt shape. Adjust the transform handles to restore the correct aspect ratio.
Conclusion
Creating white shirt templates in Photoshop is a valuable skill for designers, allowing them to bring their unique visions to life. By following the steps outlined in this guide and practicing the provided tips, you can master the art of creating professional-looking white shirt templates that will elevate your designs to the next level.
FAQ
- What are the benefits of using a white shirt template?
Using a white shirt template saves time and effort, provides a consistent starting point for designs, and ensures accuracy and realism.
- Can I use my white shirt template in other design software?
Yes, by exporting the template as a PNG file with a transparent background, you can easily import it into other design software for further editing and integration into your projects.
- How can I create different shirt styles using the same template?
By adjusting the collar shape, sleeve length, and other details, you can create various shirt styles, such as dress shirts, casual shirts, and polo shirts, from the same template.
- Can I add my own designs to the white shirt template?
Absolutely! Once the basic shirt template is created, you can add your own designs, logos, patterns, or graphics using Photoshop’s powerful editing tools.
- How do I ensure that my designs will fit the white shirt template?
Before adding designs to the template, measure the dimensions of the shirt and ensure that your designs fit within those boundaries. Use the Rulers and Guides in Photoshop to assist with precise placement.


