
The Ultimate Guide to White T-Shirt Photoshop: Unleashing Your Creative Potential
The white t-shirt, a wardrobe staple and an emblem of casual style, has evolved into a versatile canvas for self-expression and visual storytelling in the digital realm. With the power of Adobe Photoshop, you can transform a plain white tee into a vibrant canvas, adorned with intricate designs, eye-catching graphics, or realistic photo manipulations. This comprehensive guide will empower you to master the art of white t-shirt Photoshop, unlocking the full potential of this creative medium.
Section 1: Preparing the White T-Shirt Image
-
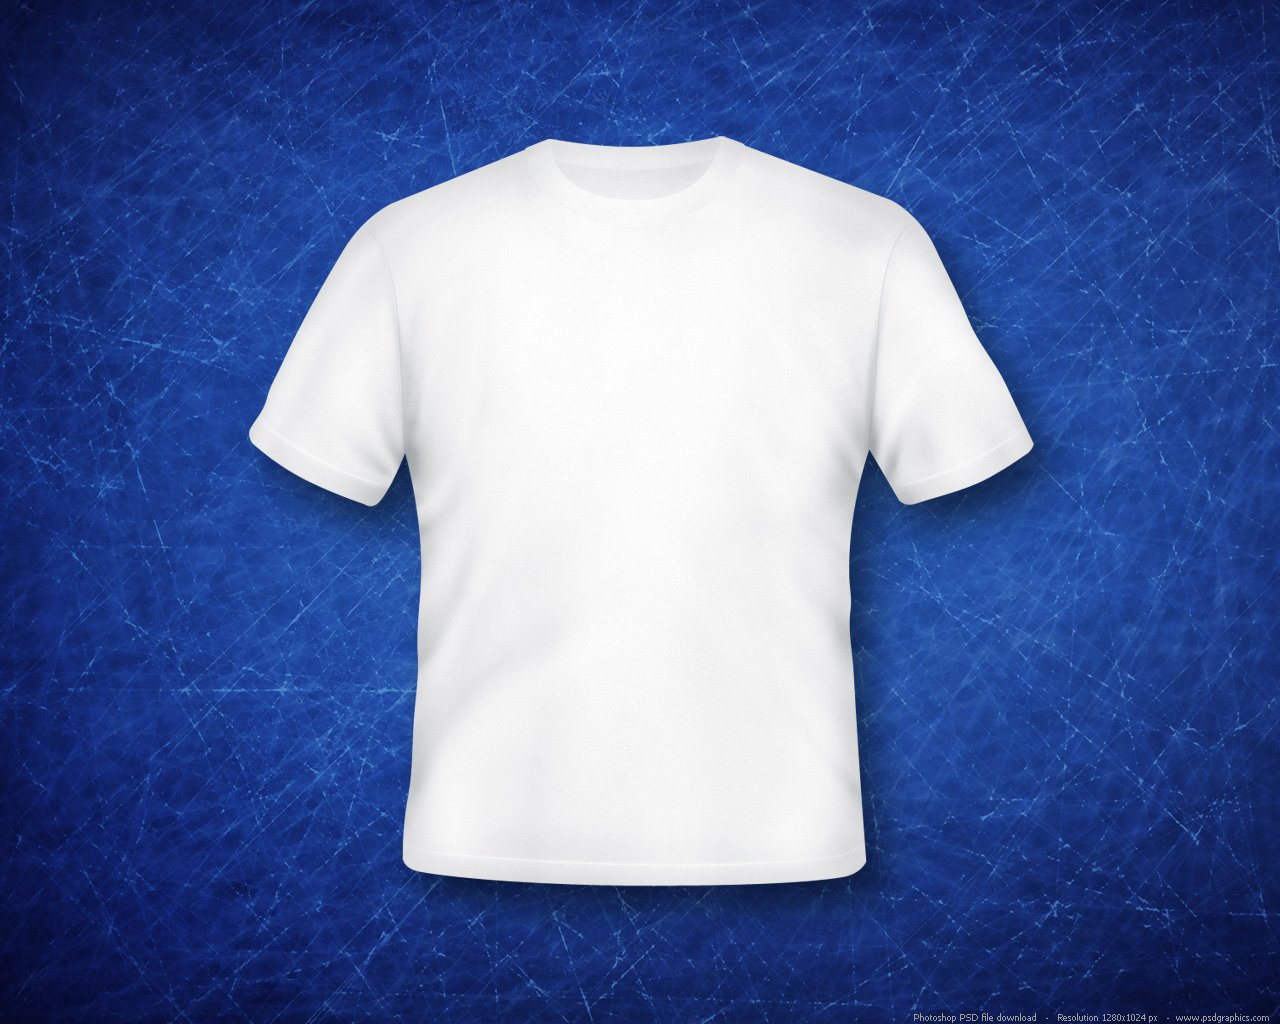
Acquire a High-Quality Image: Start with a clear, well-lit photograph of a white t-shirt, ideally captured against a neutral background. Ensure that the image is high-resolution to allow for detailed editing without pixelation.
-
Isolate the T-Shirt: Using the Quick Selection Tool or the Magic Wand Tool, carefully select the t-shirt area, ensuring that the edges are clean-cut. Refine the selection by adjusting the feather radius and using the Refine Edge Brush Tool to capture intricate details like creases and folds.
-
Create a New Layer: Once the t-shirt is isolated, create a new layer to serve as the editing canvas. This will allow you to work non-destructively, preserving the original image.
Section 2: Design Techniques for White T-Shirts
1. Adding Text:
• Type Tool: Utilize the Type Tool to add text to the t-shirt, selecting the appropriate font, size, and color. Experiment with different fonts and effects to achieve the desired aesthetic.
• Text Warp: Distort the text using the Warp Text tool to create curved or perspective effects, adding depth and interest to your design.
2. Incorporating Graphics:
• Image Placement: Import graphics into Photoshop and drag them onto the t-shirt layer. Adjust the size, position, and rotation to fit your vision.
• Blending Modes: Experiment with blending modes like Multiply, Screen, and Overlay to seamlessly integrate graphics with the t-shirt texture.
3. Photo Manipulation:
• Clipping Masks: Use clipping masks to confine photo elements within specific areas of the t-shirt, creating realistic and visually engaging compositions.
• Layers and Masking: Stack multiple layers to create complex photo manipulations. Use layer masks to selectively reveal or conceal parts of the image, achieving desired effects like transparency or fading.
Section 3: Enhancing Realism and Texture
-
Adding Shadows and Highlights: Create depth and dimension by adding realistic shadows and highlights using the Dodge and Burn Tools. Adjust the opacity and blending modes to achieve subtle or dramatic effects.
-
Texturing the T-Shirt: Simulate the texture of a real t-shirt by applying fabric-specific textures or brushes. Use the Eraser Tool to create subtle wear and tear effects, enhancing the authenticity of your design.
-
Color Adjustments: Fine-tune the colors of the t-shirt and graphics to match your desired aesthetic. Use Hue/Saturation, Curves, and Color Balance adjustments to achieve vibrant or muted tones.
Section 4: Finishing Touches
-
Sharpening and Detail Enhancements: Sharpen the final image to enhance details and crispness. Use the Unsharp Mask Filter or the Smart Sharpen Tool for precise adjustments.
-
Exporting the Design: Save your white t-shirt Photoshop creation in a high-quality format like PNG or JPEG, ensuring that the resolution matches the intended usage.
FAQ (Frequently Asked Questions)
1. What are the recommended dimensions for a white t-shirt design?
The ideal dimensions depend on the intended purpose. For social media sharing, a resolution of 1080px by 1080px is sufficient. For print or merchandise, aim for 300dpi (dots per inch) at a larger size, typically between 3000px by 3000px and 5000px by 5000px.
2. Can I use the same design for both light and dark-colored t-shirts?
While it’s possible, the design may require adjustments to ensure optimal visibility and contrast on different colored t-shirts. For example, light-colored designs may need to be darkened or outlined for visibility on darker t-shirts.
3. How can I create a realistic wrinkled t-shirt effect?
To achieve a realistic wrinkled effect, use a combination of the Warp Transform tool and a fabric texture brush. Create a duplicate layer of the t-shirt, apply the Warp Transform to distort the layer, and then paint over it with a suitable fabric texture brush. Adjust the opacity and blending modes for a seamless blend.
4. Can I add glow or neon effects to my design?
Yes, you can add glow or neon effects using the Layer Styles panel. Select the relevant layer, click on the "Fx" icon, and choose "Outer Glow" or "Inner Glow" from the list of effects. Adjust the size, spread, and color of the glow to achieve the desired effect.
5. How do I prepare my design for print or merchandise?
When preparing your design for print or merchandise, ensure it’s in a high-resolution format like PNG or TIFF, with a resolution of 300dpi or higher. Convert the color mode to CMYK (Cyan, Magenta, Yellow, Black), as this is the standard color space for printing. Provide a transparent background if you want the design to be printed on various colored t-shirts.
Conclusion
White t-shirt Photoshop is a powerful creative tool that empowers you to transform a blank canvas into a work of art. By mastering the techniques outlined in this guide, you can unleash your imagination and create stunning designs that express your unique style and vision. Whether you’re a seasoned designer or a Photoshop novice, embrace the possibilities and elevate your white t-shirt designs to the next level.


