
Wall Mockups: The Ultimate Guide to Showcase Your Designs
Introduction
In the realm of design, presentation is paramount. Whether you’re an interior designer showcasing your latest creations or a marketer promoting a new product, displaying your designs in a visually compelling manner can make all the difference. One indispensable tool in achieving this goal is the wall mockup.
A wall mockup is a digital representation of a wall, typically featuring a variety of textures, colors, and lighting effects. By overlaying your designs on these mockups, you can create realistic simulations of how they would appear in a real-world setting. This allows you to showcase your designs with greater impact and credibility.
In this comprehensive guide, we will delve into the world of wall mockups, exploring their benefits, types, creation process, and best practices. Armed with this knowledge, you will be equipped to leverage the power of wall mockups to elevate your designs and captivate your audience.
Benefits of Using Wall Mockups
-
Realistic Presentation: Wall mockups provide a highly realistic representation of how your designs would appear in a physical space. By incorporating real-world textures and lighting, they enable you to showcase your creations with context and authenticity. This level of detail can significantly enhance the impact of your designs.
-
Time-Saving Convenience: Creating physical prototypes or staging photo shoots for every design iteration can be time-consuming and expensive. Wall mockups, on the other hand, offer a speedy and cost-effective alternative. You can quickly overlay your designs on mockups and generate multiple realistic representations in a matter of minutes.
-
Versatility and Flexibility: Wall mockups offer immense versatility. They can be used to showcase a wide range of designs, from artwork and photography to logos and branding elements. Whether you’re designing for a residential or commercial space, indoor or outdoor, there’s a wall mockup to suit your needs.
-
Effective Communication: Wall mockups facilitate effective communication between designers and clients. By providing a clear and visual representation of your designs, you can reduce misunderstandings and ensure that everyone is on the same page. This can prevent costly revisions and delays later in the project.
Types of Wall Mockups
-
Textured Wall Mockups: These mockups feature different textures such as brick, wood, stone, and canvas. They add depth and realism to your designs, making them appear as if they were actually applied to a surface.
-
Colored Wall Mockups: These mockups come in a wide range of colors, from neutral shades to bold hues. By matching the wall color to your design, you can create a harmonious or contrasting aesthetic.
-
Lighting Wall Mockups: These mockups incorporate realistic lighting effects, such as natural sunlight, artificial lighting, and shadows. By adjusting the lighting, you can showcase how your designs will appear in different lighting conditions.
-
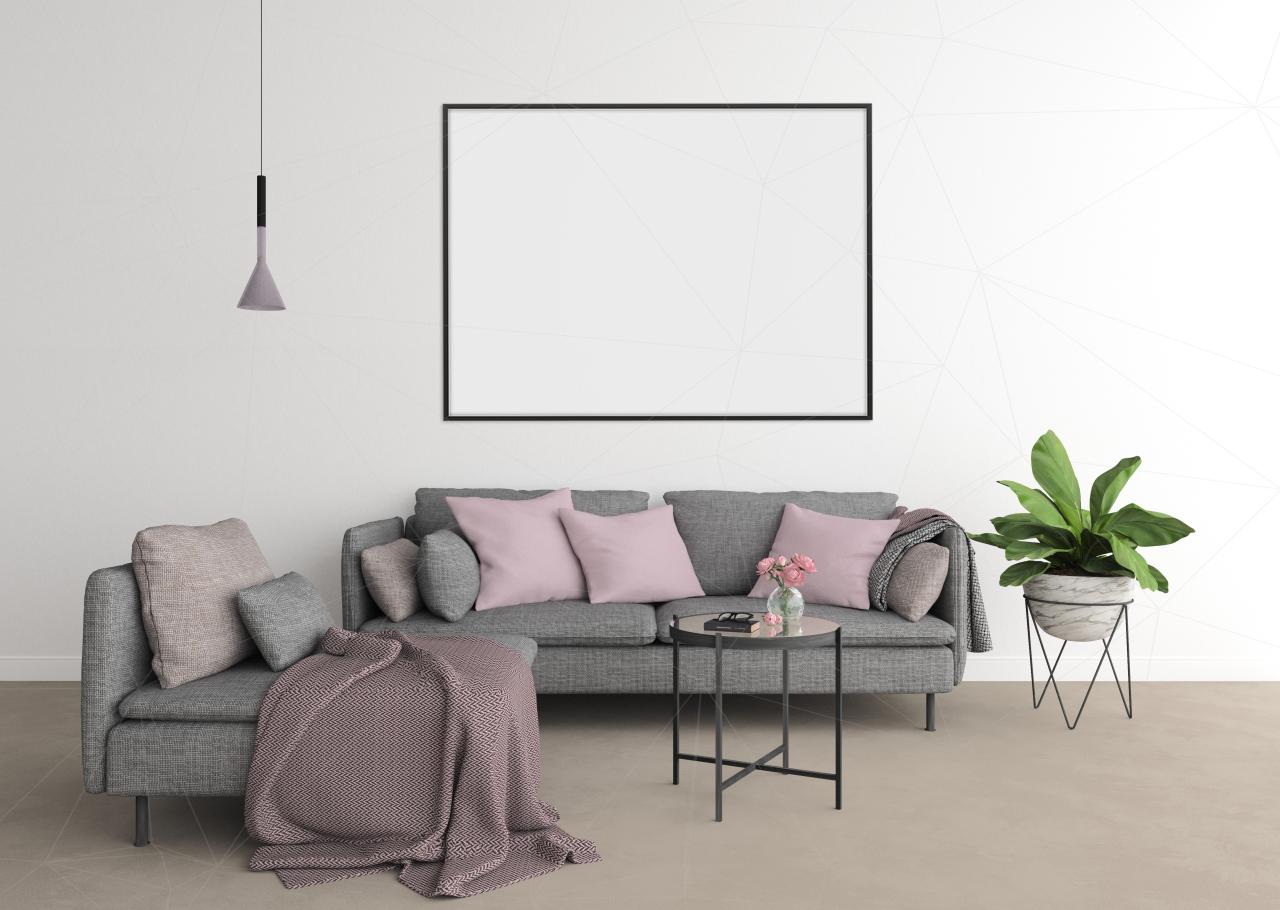
Environment Wall Mockups: These mockups include additional elements in the background, such as furniture, curtains, and plants. They provide a more comprehensive representation of how your designs would fit into a specific space.
Creating Wall Mockups
-
Use High-Quality Images: Start with high-resolution images of your designs. This will ensure that your mockups are sharp and visually appealing.
-
Choose Suitable Textures: Select a wall texture that complements your design. Consider the style, color, and scale of your design when making this choice.
-
Adjust Lighting: Experiment with different lighting conditions to find the most flattering presentation for your design. Pay attention to how the light interacts with the texture and colors.
-
Add Background Elements: If desired, incorporate additional elements such as furniture or artwork into your mockup. This will provide context and enhance the overall realism.
-
Export High-Quality Mockups: Once you’re satisfied with your mockup, export it in high resolution. This will ensure that your mockup is suitable for print or digital use.
Best Practices for Using Wall Mockups
-
Use Mockups Sparingly: While wall mockups can be a powerful tool, avoid overusing them. Too many mockups can diminish their impact and make your presentations appear cluttered.
-
Showcase Your Best Work: Only use high-quality designs in your mockups. If your designs are not strong, the mockups will not be able to compensate for their shortcomings.
-
Provide Context: When appropriate, include additional elements in your mockups to provide context. This will help viewers understand how your designs would fit into a specific space.
-
Use Realistic Lighting: The lighting in your mockups should be realistic and consistent with the environment you’re trying to simulate. Avoid using unrealistic or overly dramatic lighting.
-
Pay Attention to Details: Be mindful of the details in your mockups, such as the shadows and reflections. By paying attention to these details, you can create more realistic and immersive presentations.
FAQ
- What is the difference between a wall mockup and a photomontage?
A wall mockup


